
How to customize phone case diy is mostly about choosing a method that matches your case material, your tools, and how “daily-use tough” you need the finish to be. If your last DIY peeled, scratched, or turned sticky, that usually means the paint or adhesive didn’t bond well, or the surface prep got skipped.
It’s worth doing right because your phone case gets handled constantly, tossed in bags, wiped down, and exposed to heat. A cute design that can’t survive pockets and hand sanitizer isn’t really a win, it’s just a weekend craft that turns into a mess by Tuesday.
This guide keeps it practical: what works on silicone vs. TPU vs. hard plastic, a quick “choose-your-method” table, and simple steps that still look clean. I’ll also flag the spots where DIY projects go wrong, especially around sealing and drying time.
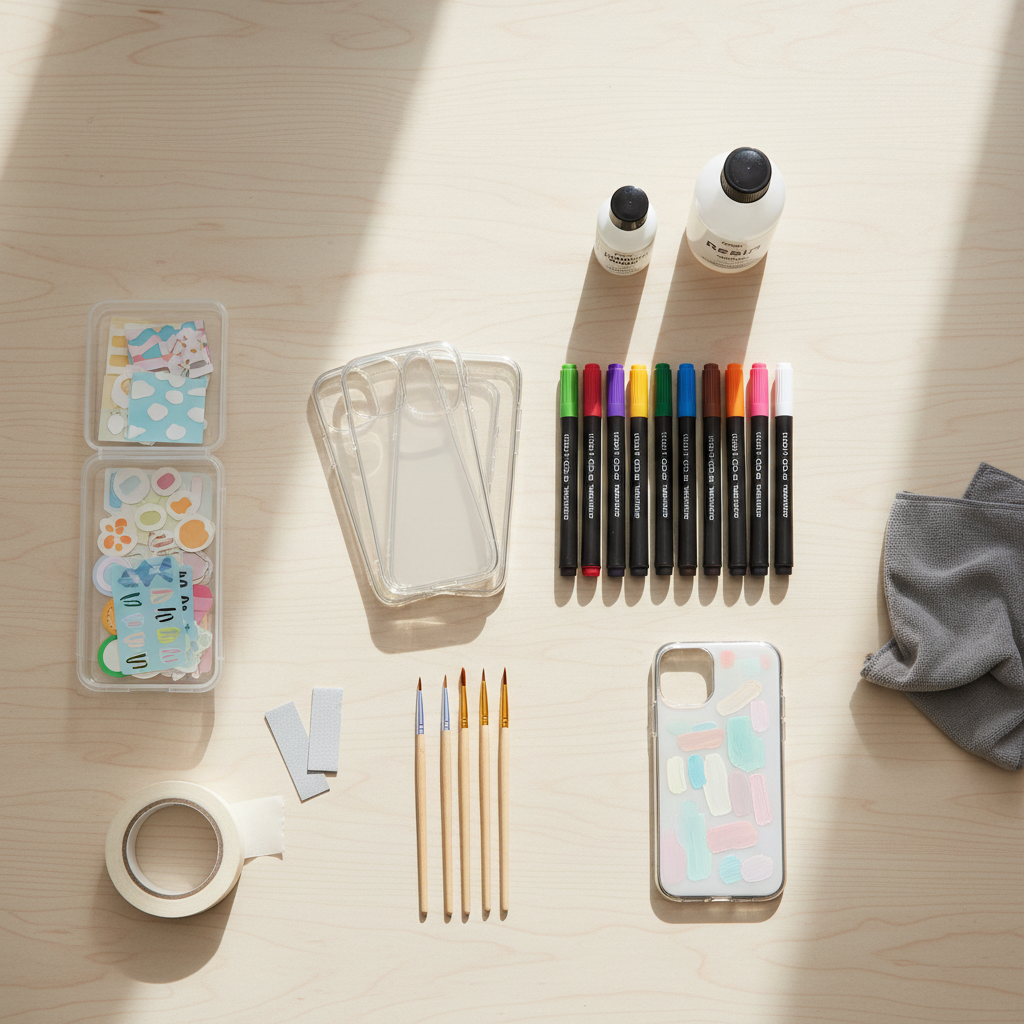
Pick the right DIY method for your case material
Before you design anything, identify what you’re decorating. That one step saves a lot of frustration, because the “same” paint pen behaves very differently on silicone than on a hard polycarbonate case.
- Silicone (soft, grippy, often matte): hardest to paint long-term, better for decals, wraps, or inserts.
- TPU (soft but smoother than silicone): takes some paints with strong prep, works well with vinyl and resin accents.
- Hard plastic (PC) or acrylic: easiest for paint, markers, and layered designs.
- Leather/fabric cases: different products entirely, use leather paint or fabric paint, seal accordingly.
According to Apple Support, using accessories and materials that don’t fit well can impact device use and may affect how the phone dissipates heat, so avoid very thick builds and keep ports, speakers, and camera areas clear.
A quick “choose your DIY style” table (easy and reliable)
If you’re stuck deciding, use this cheat sheet. It’s not about “best,” it’s about what holds up with normal American day-to-day handling: pockets, car cupholders, gym bags, and constant wiping.
| DIY method | Skill level | Works best on | Durability (typical) | Notes |
|---|---|---|---|---|
| Vinyl decals/stickers + seal | Easy | Hard plastic, TPU | Medium–High | Clean edges matter, seal lightly to prevent peeling |
| Paint markers (acrylic) + clear coat | Easy–Medium | Hard plastic | Medium | Best for line art, lettering, simple graphics |
| Printable insert (for clear cases) | Easy | Clear cases | High | Nothing touches the outside, so it wears well |
| Resin “shaker”/charm accents | Medium | Hard plastic | High (if cured well) | Adds thickness, keep away from buttons and corners |
| Decoupage (paper + glue seal) | Medium | Hard plastic | Medium | Can bubble if you rush drying |
Why DIY phone cases fail (and how to avoid it)
Most “it looked great, then it died” projects fail for boring reasons, not because you lack talent. If you fix these, your how to customize phone case diy results usually jump a level.
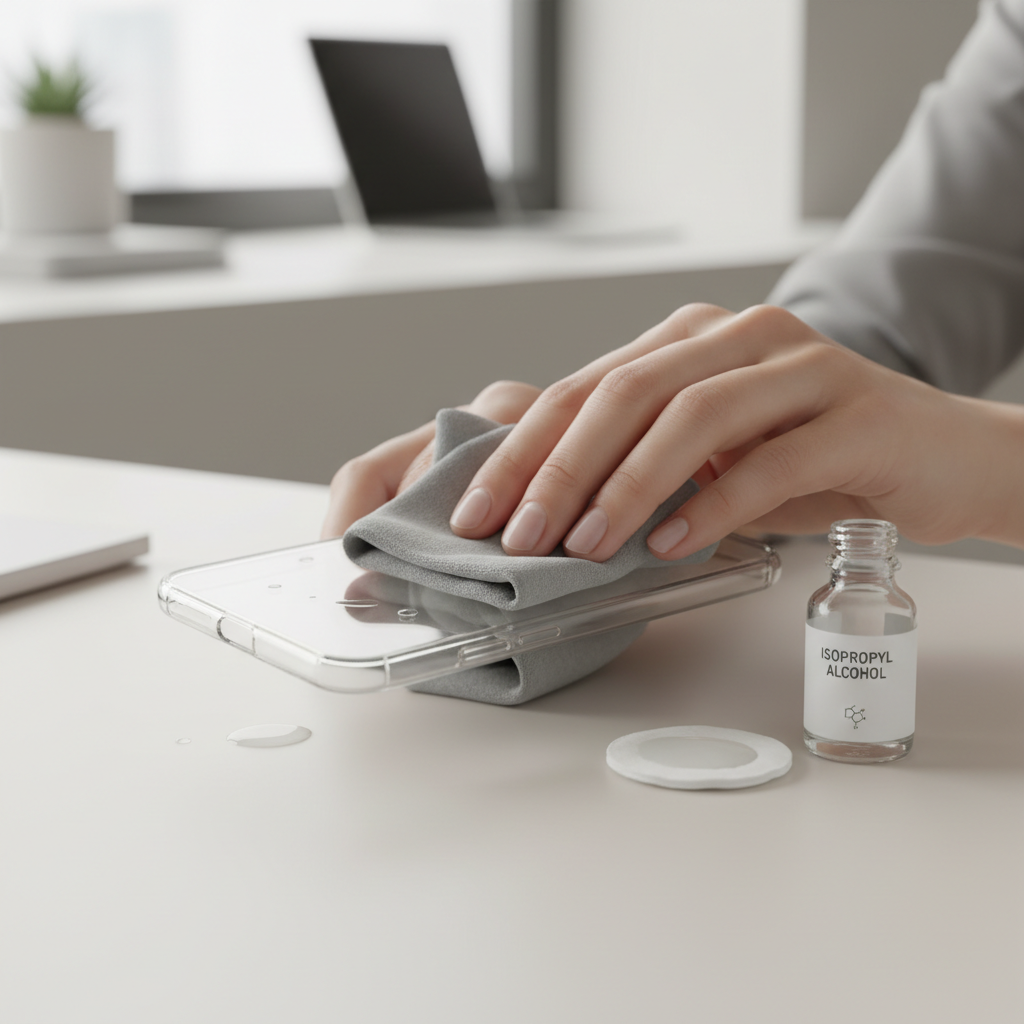
- No surface prep: oils from hands and factory mold-release residue block adhesion. Clean first, always.
- Wrong product for flexible cases: rigid paint films crack on silicone when the case flexes.
- Too-thick layers: thick paint and heavy top coats cure poorly and stay tacky around edges.
- Rushed drying/curing: “dry to touch” isn’t the same as fully cured, especially for resin and clear coats.
- Heat and chemicals: car dashboards, sanitizer, and cleaning sprays can cloud or soften finishes.
According to CDC guidance on cleaning and disinfecting, chemical disinfectants should be used as directed on the label, and in real life that means your case may meet alcohol and cleaners often, so plan for wipe-down resistance.
Self-check: what kind of customization should you do?
Answer these quickly, and you’ll save time and supplies.
- Do you want zero wear on the outside? Choose a printed insert behind a clear case.
- Is your case silicone and super flexible? Favor decals, wrap-style vinyl, or swapping the case for a hard clear one for art projects.
- Do you need it to survive gym + sanitizer wipes? Go light on paint, prioritize sealed vinyl or inserts.
- Are you customizing for a gift? Keep designs simple, clean typography, and avoid bulky charms that snag pockets.
- Do you switch cases often? Use removable methods like inserts or sticker clusters on a separate “display case.”
Key point: If durability matters more than texture, choose a hard clear case and decorate the inside surface or use an insert, it’s the easiest “pro-looking” shortcut.
Tools and materials that make the job easier
You don’t need a full craft room, but you do need the right basics. Keep it tidy, because dust and lint love fresh clear coat.
Basic kit (works for most beginner projects)
- Rubbing alcohol (isopropyl) + microfiber cloth
- Painter’s tape or masking tape
- Fine sandpaper (optional, for hard plastic only)
- Acrylic paint markers or acrylic paint + small brushes
- Vinyl stickers/decals (or a cutting machine if you have one)
- Clear top coat compatible with plastics (test first)
If you’re using resin
- Two-part epoxy resin kit, mixing cups, stirring sticks
- Nitrile gloves and good ventilation
- UV lamp only if you’re using UV resin (not required for epoxy)
For resin or strong solvents, follow label safety steps and consider consulting a professional if you have sensitivities or respiratory conditions, since fumes can be irritating in some situations.
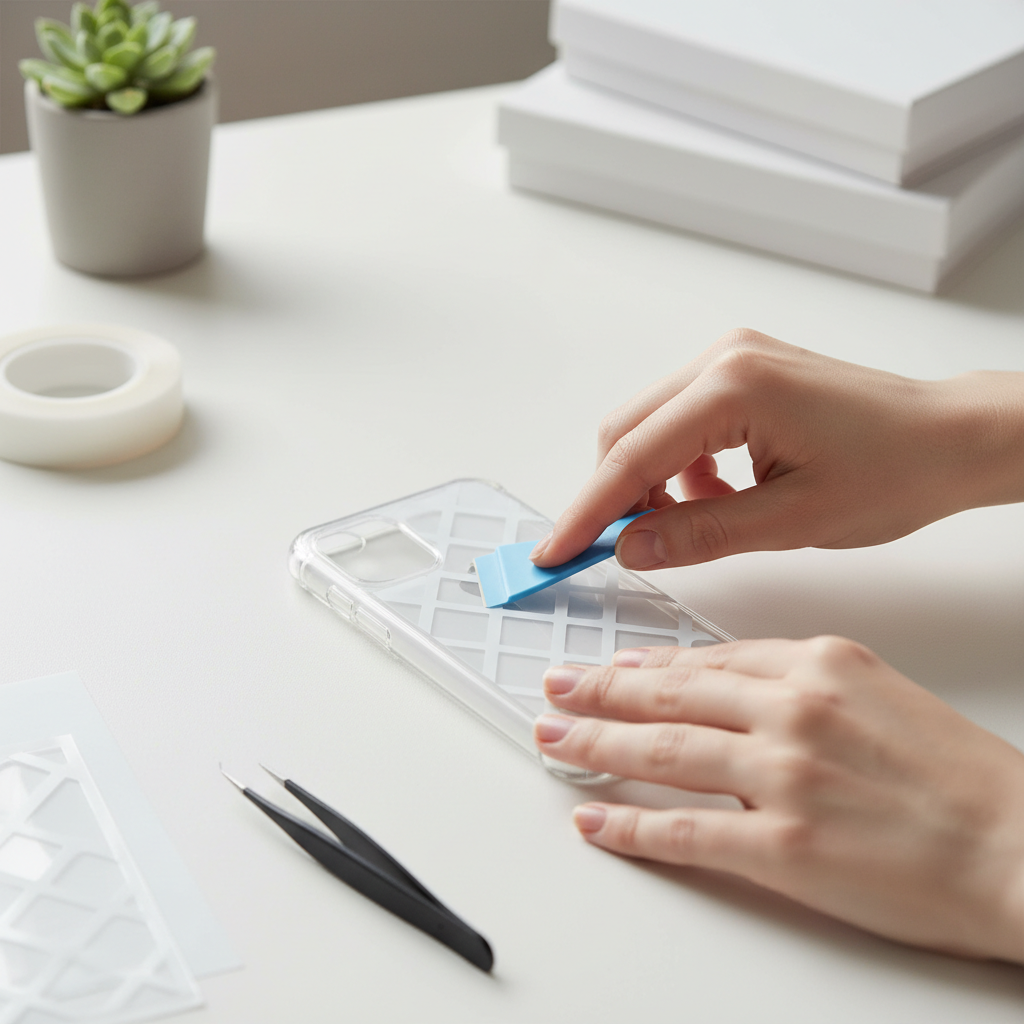
Step-by-step: 3 easy DIY options that look clean
Below are three approaches that tend to work well for beginners and still look “finished.” Pick one, don’t try to combine all three on your first run.
Option A: Vinyl decal + light seal (fast, durable)
- Clean: wipe the case with alcohol, let it air-dry.
- Place: test placement without committing, center around the camera cutout to avoid awkward spacing.
- Apply: press from middle outward to avoid bubbles.
- Seal (optional): a light compatible clear coat can help edges resist lifting, test on a corner first.
Small reality check: some sticker materials already have a protective laminate, adding a strong solvent clear coat can wrinkle them, so the test step is not optional.
Option B: Paint marker line art (minimal tools, high payoff)
- Prep: clean and, for hard plastic only, lightly scuff with fine sandpaper, then clean again.
- Sketch lightly: use a removable pencil or a very light guide on paper beneath a clear case.
- Draw: do thin layers, let each pass dry.
- Top coat: spray or brush a thin clear coat in multiple light passes.
If you want the design to last, keep the art away from corners where your hand constantly rubs, especially the bottom edges.
Option C: Printed insert (the “no-mess” customization)
- Measure: trace your case outline on paper, mark camera and button zones.
- Design: in Canva or any editor, keep important graphics away from camera cutout.
- Print: standard cardstock often works, photo paper can look sharper.
- Cut and fit: use small scissors or a craft knife for the camera area.
This is the easiest way to do seasonal styles without committing, and it’s a smart fallback when how to customize phone case diy with paint feels intimidating.
Make it last: sealing, curing, and day-to-day care
Durability is mostly about restraint. Thin layers, enough time, and the right finish for the material.
- Let it cure: many coatings need 24–72 hours to fully harden, even if they feel dry earlier.
- Keep heat in mind: avoid leaving a freshly sealed case in a hot car, it can soften finishes.
- Clean gently: mild soap and water tends to be safer than harsh sprays; if you must disinfect, spot test first.
- Watch thickness: thick resin domes can interfere with wireless charging and feel awkward in pockets.
According to FTC guidance on environmental marketing claims, labels and claims should be clear and not misleading; in the DIY world, that’s a reminder to read product labels carefully rather than assuming “non-toxic” equals safe for all indoor use.
Common mistakes (so you don’t redo the whole thing)
- Sealing too soon: trapping moisture under top coat can cause clouding or peeling.
- Using super glue near the edges: it can frost clear plastic and look permanently hazy.
- Decorating high-friction zones: corners and the lower back area wear fastest.
- Ignoring fit: bulky embellishments can press on buttons or cause the case to warp.
- No test patch: a one-minute test on the inside edge beats hours of stripping a bad coat.
When to get extra help (or switch to a simpler option)
If you’re using resin, strong solvents, or heat tools, get guidance if you feel unsure about ventilation, skin sensitivity, or safe disposal. And if your phone has premium finishes or you rely on wireless charging daily, consider using an insert-based design or a pre-customizable case to reduce risk.
Sometimes the “smart” DIY is picking a method with fewer failure points, not pushing the most complicated technique.
Conclusion: a good DIY case is mostly good decisions
When people search how to customize phone case diy, they usually want something easy that still looks intentional. Pick a method that matches your case material, prep the surface like you mean it, and keep layers thin. If you want the least drama, inserts and sealed vinyl give the best durability-to-effort ratio.
If you’re customizing this week, choose one design, do a small test patch tonight, then finish the full case once you know your materials behave. Your future self, the one wiping down the case after a long day, will appreciate it.
Quick takeaways
- Hard plastic cases are the easiest canvas for paint and markers.
- Inserts are the simplest way to get a “new case look” without wear.
- Thin layers + curing time usually matter more than fancy tools.