
How to shine shoes at home easy comes down to two things, clean leather and the right amount of product, not fancy tools or a perfect “shoe shine kit.” If your shoes look dull, streaky, or dusty five minutes after you finish, the problem is usually prep, not effort.
It’s worth getting this right because a decent shine buys you time, shoes look cleaner longer, and leather tends to age better when it’s conditioned and protected. Even for casual sneakers-leather hybrids or everyday work shoes, a quick at-home routine can make them look “pulled together” without looking overdone.
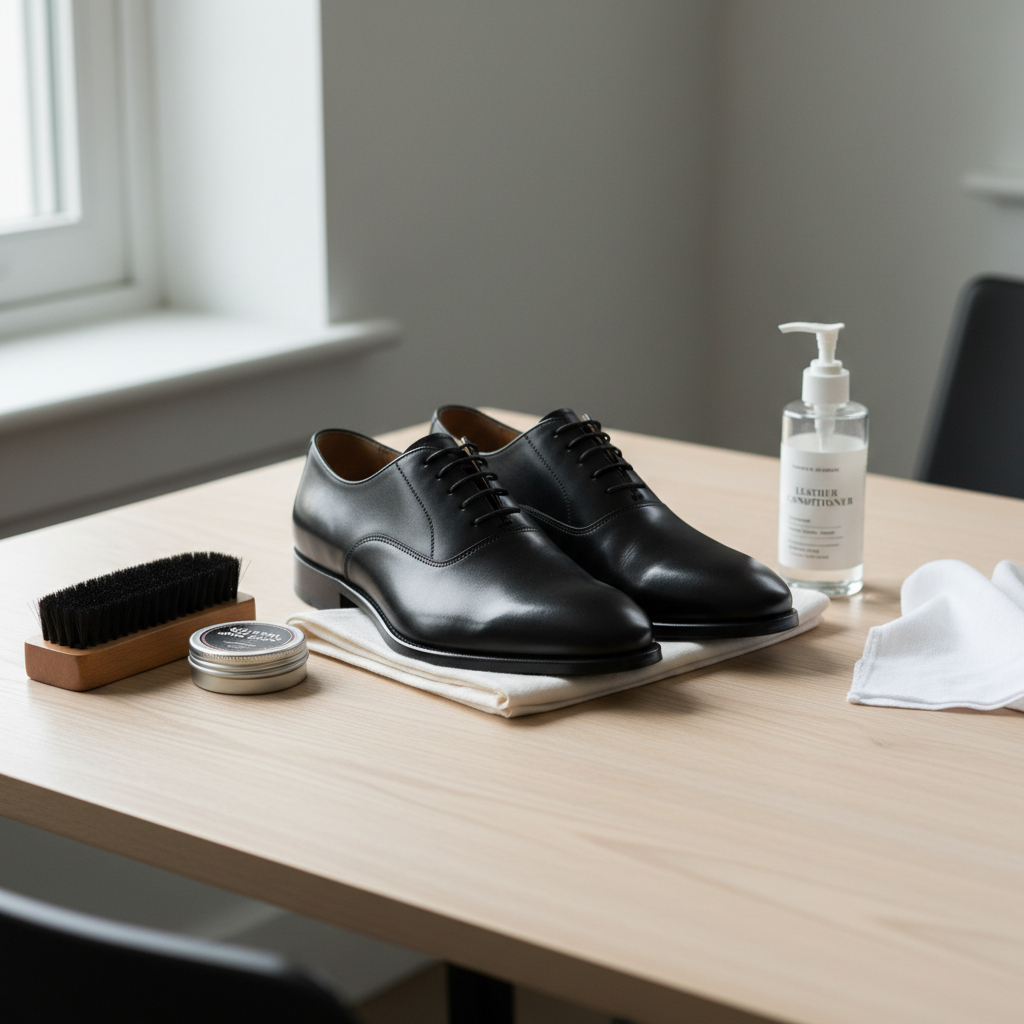
One more reality check, “shine” can mean different finishes. Some people want a natural glow that looks normal in daylight, others want a mirror-like gloss for formal wear. This guide covers both, and helps you pick what fits your shoes and your schedule.
What you’ll need (and what you can skip)
You don’t need a 12-piece kit. Most at-home shines work with a small set of basics, and one or two “nice-to-haves” if you care about speed or a higher gloss.
Core items
- Horsehair brush for dusting and buffing, this is the workhorse.
- Soft cloth (old T-shirt or microfiber) for applying and final buffing.
- Leather cleaner or a slightly damp cloth for surface dirt.
- Conditioner (optional but helpful if leather feels dry).
- Wax polish for shine and a light protective layer.
Nice-to-have items
- Cream polish for color refresh and a softer shine, often easier than wax.
- Edge dressing for worn sole edges if you care about the full “finished” look.
- Toothbrush or small detailing brush for seams and welts.
According to the U.S. National Library of Medicine, some people can experience skin irritation from chemicals found in certain polishes or cleaners, so if you notice itching or redness, switch products, improve ventilation, and consider gloves.
Why shoes look dull after you “shined” them
If you’ve tried how to shine shoes at home easy and still get cloudy patches, smears, or a sticky feel, one of these usually explains it.
- You didn’t remove dust first, polish mixes with grit and turns into a gray film.
- Too much product, thick layers never fully haze, so they smear.
- Wrong product for the material, suede and nubuck don’t want wax polish, and many “coated” leathers barely absorb anything.
- Water or cleaner residue, leather needs a few minutes to dry before polish.
- Heat and rushing, blasting with a hair dryer can soften wax unevenly and create streaks.
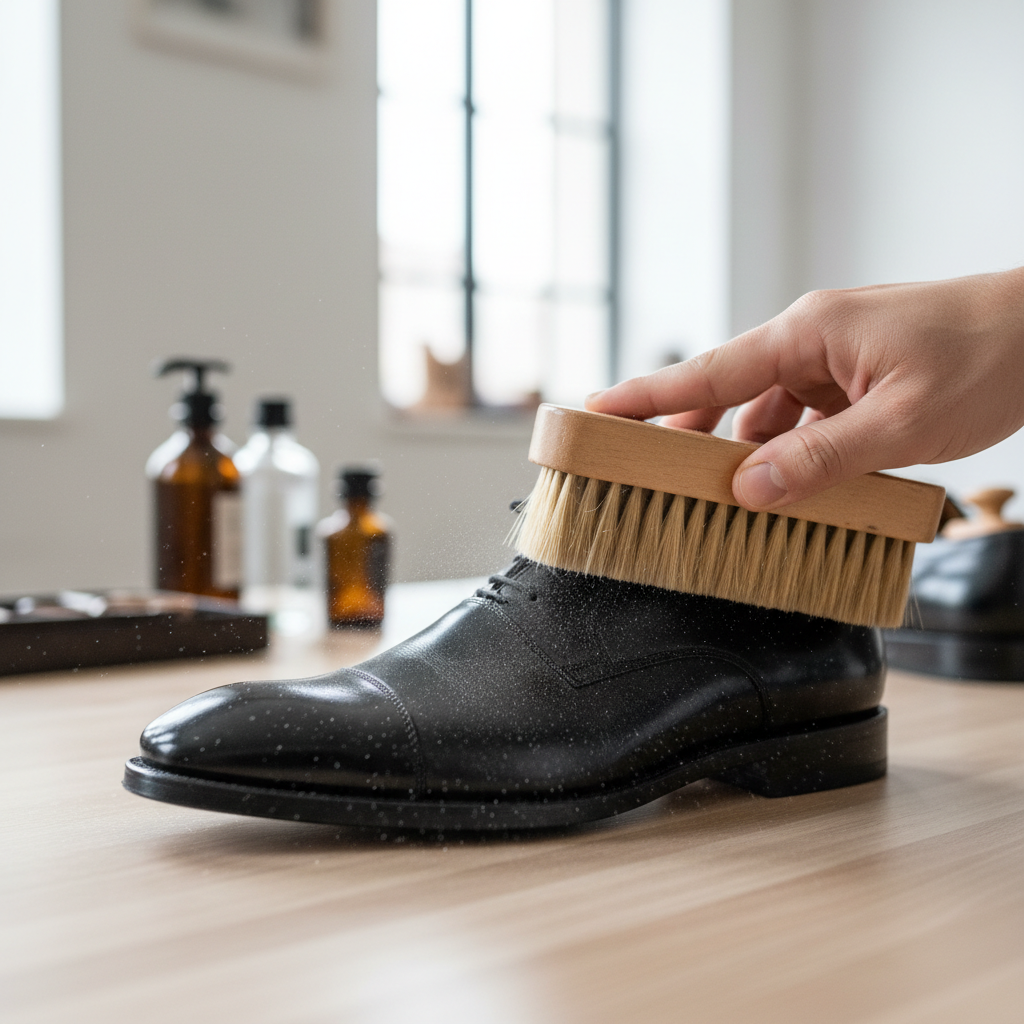
Also, some leather finishes (corrected grain, heavy top-coat) simply don’t take a deep shine. You can still improve them, but the ceiling is lower, and that’s not your fault.
Quick self-check: which shoe-shine situation are you in?
Before you start, match your shoes to the right method. This saves time and avoids accidental damage.
- Leather dress shoes (smooth leather): great candidates for wax or cream polish.
- Casual leather shoes/boots: usually better with conditioner + cream, lighter wax if you want.
- Patent leather: don’t wax, wipe and buff only.
- Suede/nubuck: no wax polish, use suede brush and suede-specific protectant.
- Sneakers with leather panels: spot-clean, then light cream polish on leather parts only.
If you’re unsure, look inside for care notes, or test on a small hidden area near the heel. Color transfer onto your cloth is normal with some polishes, but blotchy discoloration is a warning sign.
Step-by-step: easy at-home shine (10–15 minutes)
This is the “looks good in real life” routine. It’s usually enough for work, interviews, and day-to-day wear.
1) Dry brush and wipe
- Brush the entire shoe, especially seams and around laces.
- Wipe with a slightly damp cloth if grime is stuck, then let it dry a few minutes.
2) Condition if leather feels dry
- Use a pea-sized amount per shoe, spread thin.
- Wait 5–10 minutes, then buff lightly.
3) Apply cream polish (optional, but very forgiving)
- Use small circles, thin layer, focus on toe and heel.
- Let it sit a couple minutes, then brush to bring up a glow.
4) Apply wax polish for shine
- Use less than you think, a thin coat beats a thick one.
- Let it haze, then brush briskly. Finish with a cloth buff.
Key point: The brush work is where most shine appears. Polish sets the stage, buffing does the “magic.”
Methods compared: choose the finish you actually want
If you’re trying to decide between cream, wax, or a “quick wipe” approach, this table helps. Many people end up using cream most of the time, wax when they want extra pop.
| Method | Best for | Look | Time | Common downside |
|---|---|---|---|---|
| Cream polish | Everyday shine + color refresh | Natural, even glow | 5–10 min | Less “glass” shine than wax |
| Wax polish | Dress shoes, formal events | Higher gloss, more protective | 10–20 min | Streaks if applied too thick |
| Brush-only buff | Quick cleanup between shines | Light improvement | 1–3 min | Doesn’t fix dryness or scuffs |
| Mirror shine add-on | Toecaps for ceremonies/interviews | Reflective “spit shine” look | 20–40 min | Fussy, not ideal for soft leather |
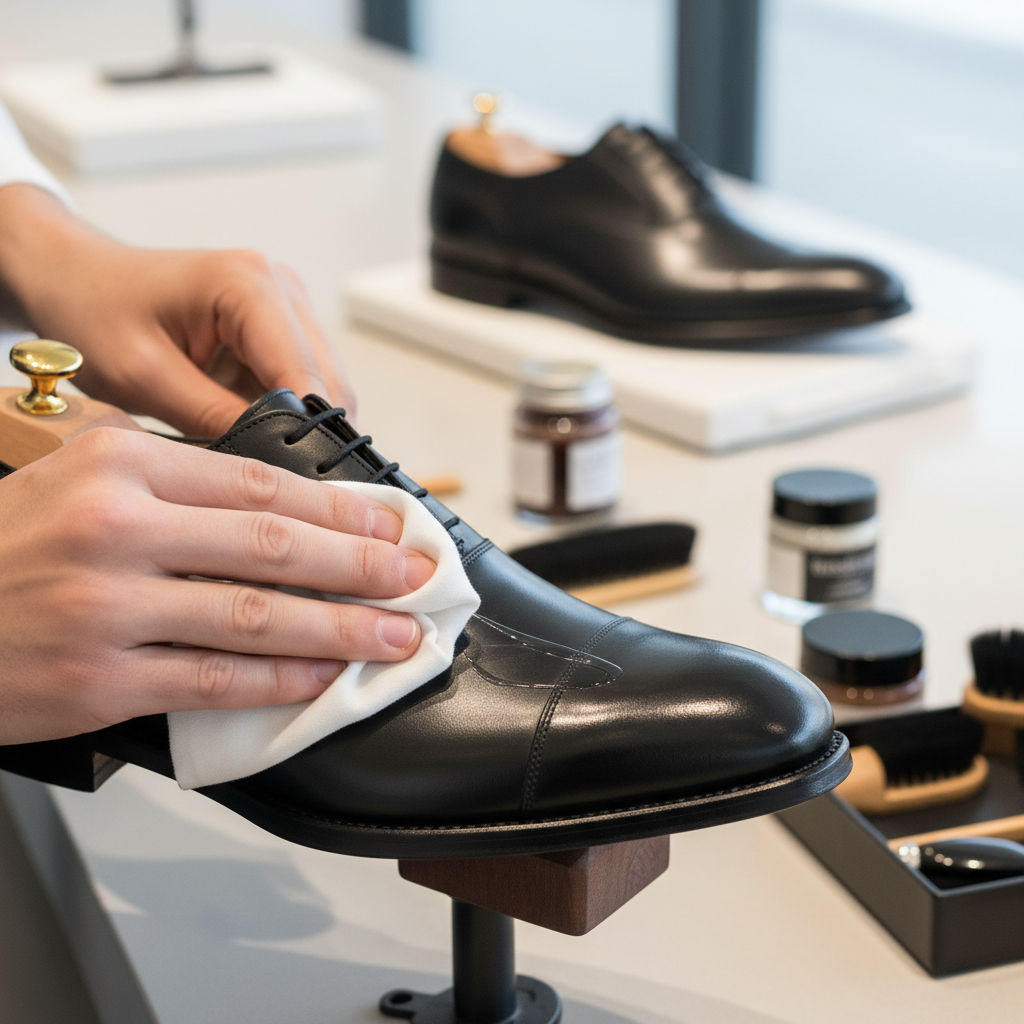
For most people who want how to shine shoes at home easy, the cream + light wax combo hits the sweet spot: quick, even, and hard to mess up.
Practical fixes for scuffs, salt stains, and uneven shine
These are the real-life issues that make shoes look tired even after you polish.
Light scuffs
- Brush, then try a slightly damp cloth.
- If the mark remains, use cream polish close to the leather color, then buff.
Deeper scuffs (color loss)
- Use pigmented cream polish in the right shade, thin layers.
- Let it set, buff, then add a light wax top layer if you want more shine.
Salt stains (winter sidewalks)
- Wipe gently with a cloth lightly dampened with a water-and-vinegar mix, then dry.
- Condition after, salt can dry leather out.
Patchy, uneven shine
- Brush hard for 30–60 seconds, many patches are just unbuffed wax.
- If it still looks cloudy, remove excess with a slightly damp cloth, dry, then apply a thinner coat.
According to the American Academy of Dermatology Association, diluted household products can still irritate sensitive skin, so if you use vinegar mixes or stronger cleaners, keep contact minimal and wash hands after.
Common mistakes that waste time (and what to do instead)
- Using a ton of polish: do thinner coats, and let each coat haze before buffing.
- Skipping drying time: even 3–5 minutes matters after wiping or conditioning.
- Polishing the whole shoe for “mirror shine”: focus on the toe and maybe the heel, flex points crack and look worse.
- Polishing suede: switch to suede brush + suede protector, keep wax away.
- Storing shoes right after shining: give them a little air time so solvents can dissipate.
If your shoes still look flat, it may be the leather finish or the product match. Switching from wax-only to cream-first fixes that for a lot of people.
When it’s smarter to get professional help
At-home care works for routine shine, light scuffs, and general maintenance. A cobbler or shoe repair shop makes more sense when you see structural issues or you risk making the surface worse.
- Cracked leather or deep dryness that doesn’t improve after conditioning.
- Peeling finish on coated leather, aggressive polishing can lift more coating.
- Significant color damage where dyeing or refinishing may be needed.
- Soles separating, loose heels, or stitching problems.
If you have expensive shoes or rare leather, asking a pro before experimenting is usually cheaper than trying to “fix” a mistake.
Conclusion: a simple routine that keeps shoes looking sharp
How to shine shoes at home easy is mostly about consistency: brush off dust, keep product layers thin, and buff longer than you think you need. Once you find a routine that fits your week, you stop treating shoe shining like a big chore and it turns into a quick reset.
Do this next: pick one pair you wear often, do the 10–15 minute method today, then maintain with a quick brush buff every few wears. If you want a more formal look, add a small amount of wax to the toe caps only and you’ll see the difference.
FAQ
- How often should I shine leather shoes at home?
Many people do a light shine every 1–2 weeks if they wear the pair often, with quick brushing in between. If you walk in rain or salty slush, you may need cleanup sooner. - Can I shine shoes at home without shoe polish?
You can improve appearance by cleaning and buffing with a brush, and a tiny amount of conditioner can add some glow, but it won’t replace polish for shine or scuff blending. - What’s the easiest way to avoid streaks when polishing?
Use less product, let it haze, then brush longer. Streaks usually come from thick wax that never sets, not from “bad buffing.” - Is cream polish or wax polish better for beginners?
Cream tends to be easier and more forgiving, especially for everyday shoes. Wax is great for extra shine, but it punishes heavy-handed application. - Can I use olive oil or coconut oil to shine leather shoes?
It’s common advice online, but it can darken leather and may go rancid or feel sticky over time. A leather conditioner made for footwear is usually a safer bet. - How do I shine shoes at home easy if I’m in a rush?
Brush thoroughly, wipe spots, then do a very thin cream coat and buff. That routine often looks better than rushing a heavy wax layer. - Why won’t my shoes get a mirror shine?
Some leathers have coatings that limit gloss, and some shoes flex a lot at the toe, which breaks up the finish. Focus mirror shine on stiff toe caps and build thin layers.
If you’re trying to keep a couple pairs looking reliable for work or events, a small, consistent setup helps more than buying every product, and if you’d rather not guess which brush, cloth, and polish match your shoe type, a simple starter kit can be a calmer way to stay on track.