
Best false eyelashes for beginners usually come down to three things: a lightweight band, an easy shape that “disappears” on the lash line, and glue that gives you a little working time before it sets. If your first tries have felt pokey, uneven, or like they scream “I’m wearing lashes,” you’re not alone, it’s often a style-and-fit problem, not a skill problem.
Beginners tend to buy lashes that look amazing on a box model but fight your eye shape in real life. The good news is you can make this much easier by choosing the right type (strip vs. clusters vs. magnetic), checking band flexibility, and learning one or two small tricks that makeup artists use constantly.
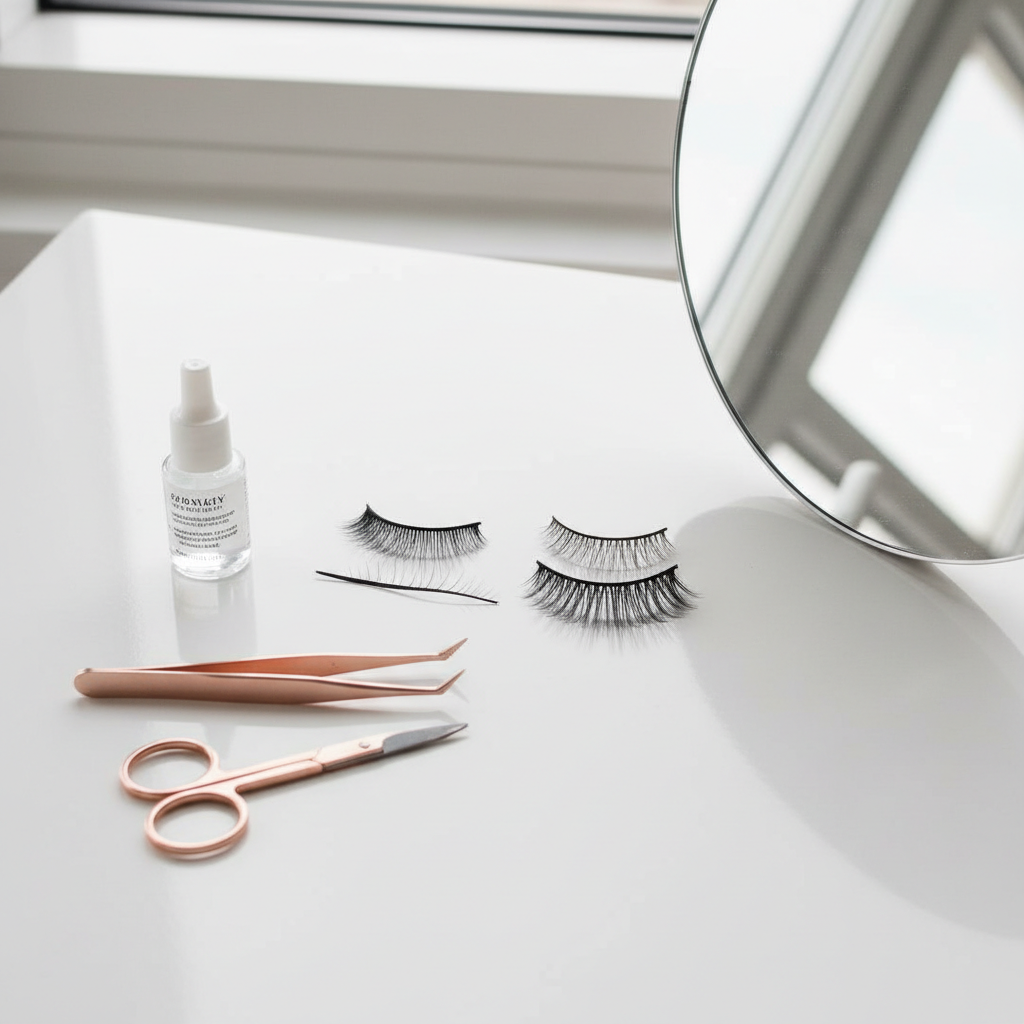
This guide helps you pick a starter lash that looks natural, stays put, and feels comfortable, plus a quick self-check, a comparison table, and a step-by-step routine that avoids the usual beginner mistakes. You’ll also see when it’s smarter to ask a pro, especially if your eyes get irritated easily.
What makes a lash “beginner-friendly” (and what usually causes failure)
When lashes go wrong, it’s typically one of these: the band is too stiff, the lash is too long for your lid space, the glue is applied wrong, or the strip is not trimmed to your eye. Fix those, and a lot of “I can’t do lashes” turns into “oh, that was it?”
- Thin, flexible band: Softer bands hug the lash line and lift less at the inner corner.
- Light density + tapered ends: Wispy styles hide mistakes better than thick, blunt fibers.
- Short-to-medium length: Too-long fibers hit your brow bone or glasses and feel uncomfortable.
- Subtle curl: Extremely curled styles can look “floaty” if your natural lashes are straight.
- Clear or dark band based on your look: Clear is forgiving, dark can replace eyeliner if you like definition.
Key point: For most first-timers, comfort matters more than drama. Once placement becomes easy, you can scale up volume and length without fighting the basics.
Quick self-check: which lash type matches your comfort level?
Before you shop, decide what you can realistically handle on a rushed morning. Some types have a smaller learning curve, others trade speed for a cleaner look.
- If you want the simplest start: a lightweight strip lash with a thin band.
- If strip lashes feel intimidating: beginner cluster segments (short sections you place along the lash line).
- If glue bothers your skin: you might prefer sensitive-skin adhesives, or consider a professional consult.
- If you hate fiddly placement: magnetic options can work, but results vary by eye shape and magnet design.
According to the American Academy of Ophthalmology, eye irritation can come from products used around the eyelids, adhesives included, so if you’ve had reactions before, patch testing and caution are worth your time.
Beginner lash comparison table (strip vs. clusters vs. magnetic)
Here’s the practical tradeoff most people notice after a few wears. Use it to pick your “starter lane,” then experiment.
| Type | Best for | Learning curve | Comfort | Common beginner issue |
|---|---|---|---|---|
| Strip lashes (full band) | Fast application once trimmed | Medium | High if band is thin | Not trimming leads to poking corners |
| Half lashes (outer corner) | Natural “lifted” look | Low | Very high | Placed too high, looks disconnected |
| Clusters/segments | Custom shape, softer finish | Medium-high | High | Uneven spacing, overloading adhesive |
| Magnetic lashes | Avoiding traditional glue | Varies | Medium | Misalignment, magnets feel bulky |
Best false eyelashes for beginners: what to look for while shopping
Instead of chasing a specific “viral” lash, shop by features. This is the part that saves money because you stop buying styles that were never going to work for your face.
- Band thickness: thinner bands tend to be easier to hide, especially without eyeliner.
- Band flexibility: if it feels stiff when you gently bend it, corners may lift.
- Length map: choose lashes that are shorter at the inner corner and longer at the outer corner for a soft, natural shape.
- “Wispy” over “spiky” for day-to-day: wispy fibers blend with natural lashes and look less harsh.
- Half-lash or “accent” styles: these are underrated for beginners because there’s less band to fight.
Small reality check: “Natural” on packaging can still be too dramatic on smaller eyes. If your lid space is limited, go shorter than you think.
Step-by-step: how to apply lashes without the usual beginner mistakes
This routine stays simple on purpose. Do it the same way a few times, then speed comes naturally.
1) Prep your base so the lash has something to grip
- Make sure your eyelids feel clean and dry, oily lids can weaken adhesion.
- If you wear mascara, use a light coat to help your natural lashes “hold hands” with the falsies.
- If you use eyeliner, keep it thin along the lash line, thick liner can make placement harder to judge.
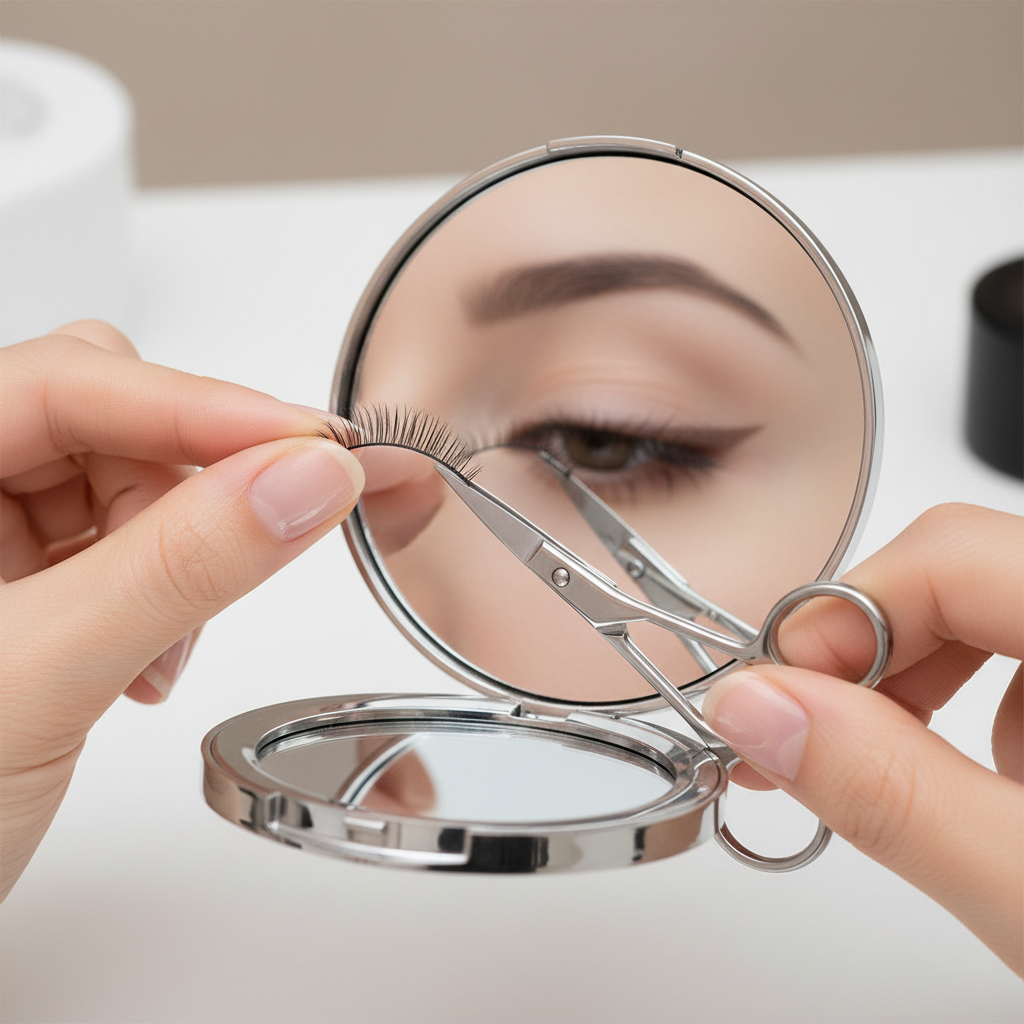
2) Measure, then trim from the outer edge
- Place the strip on your lid (no glue) and check where it lands.
- Trim a tiny amount at a time, usually from the outer corner so the inner corner stays delicate.
- If your eyes feel sensitive, avoid letting the strip touch the tear duct area.
3) Glue technique that prevents sliding
- Apply a thin, even layer of adhesive to the band, don’t glob it on.
- Wait until it turns tacky, many glues need a short pause before placement.
- Add a touch more glue to the inner and outer corners, those lift first in many cases.
4) Place center first, then nudge corners
- Look slightly down into a mirror, it exposes the lash line.
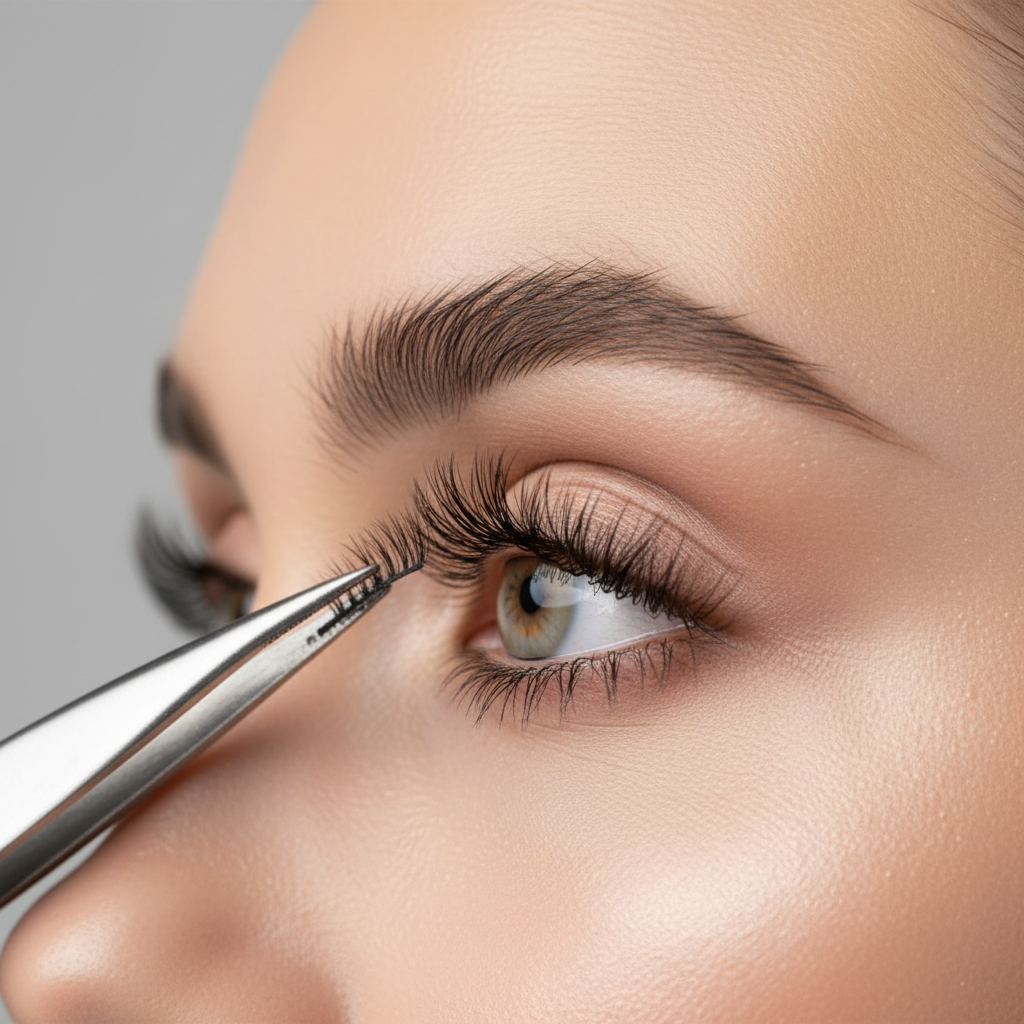
- Set the middle of the band near your lash roots, then secure outer corner, then inner corner.
- Press gently along the band with tweezers or a fingertip, aiming for “touching,” not “digging.”
5) Blend for a believable finish
- Pinch natural lashes and falsies together lightly once the glue feels set.
- If the band shows, a tiny line of dark shadow or liner can disguise it.
- Skip heavy mascara on top of your falsies if you want to reuse them, it’s harder to clean off later.
Practical troubleshooting: fix lifting corners, poking, and crooked placement
Most “bad lash days” repeat the same patterns. Try the fix that matches the symptom instead of starting over randomly.
- Inner corner keeps lifting: trim a bit more, use less glue overall but slightly more at the corner, and place the inner corner a hair farther from the tear duct.
- Outer corner pokes: the strip is usually too long, or you placed it too far out where your lash line angles down.
- Lash looks crooked: check that you’re following your lash line, not your eyeliner line, those can be different.
- Band feels “itchy”: you might be too close to the waterline, or the band is too thick for you.
- Glue gets messy: use a thinner layer and wait for tackiness, wet glue slides around.
Key takeaway: If you keep correcting after the glue fully sets, things get worse fast. In many cases, a quick remove-and-reset is cleaner than endless nudging.
Safety, hygiene, and when to ask a professional
Lashes sit close to a sensitive area, so a little caution pays off. According to the U.S. Food and Drug Administration (FDA), cosmetics used around the eyes should be handled carefully to reduce contamination risk, especially if a product touches the waterline or is shared.
- Do a patch test for adhesive if you’ve reacted to makeup before, irritation is possible.
- Don’t share lashes or glue, it’s an easy way to spread eye infections.
- Remove gently with an oil-based remover or a lash-safe dissolver, pulling can stress your natural lashes.
- Replace when they won’t clean well or the band starts warping, that’s when comfort drops.
If you have ongoing redness, swelling, pain, or blurry vision, it’s smarter to stop using the product and consult a qualified eye care professional. And if you’re considering longer-wear cluster systems or lash extensions, a licensed lash tech can help you avoid adhesive contact with the skin, which is where many problems start.
Conclusion: a simple starter plan that actually works
Best false eyelashes for beginners are the ones that feel light, fit your eye after trimming, and forgive imperfect placement. Pick a wispy, thin-band strip or a half-lash, practice the same method a few times, and troubleshoot based on what you see, not what you hope the glue will do.
Action idea for your next try: choose one everyday style, trim carefully, and focus on placing the center first. If corners lift, fix the fit before buying a “better” lash, most of the time the solution is cheaper than you think.
FAQ
What are the best false eyelashes for beginners who want a natural look?
Look for wispy, lightweight styles with a thin band and short-to-medium length, they blend into your lash line and hide small placement errors better than thick, dramatic options.
Are half lashes easier than full strip lashes?
For many people, yes. There’s less band to align, and the outer-corner placement tends to feel more intuitive, especially if you struggle with inner-corner lifting.
How do I keep false eyelashes from lifting at the inner corner?
Trim the strip so it doesn’t reach too close to the tear duct, let the glue turn tacky before placement, and add a tiny bit of extra adhesive at the inner corner without overloading the whole band.
Should beginners use clear glue or black glue?
Clear glue is more forgiving because it dries transparent, while black glue can look cleaner if you already wear eyeliner. If you’re learning, clear usually reduces stress.
Do I need eyeliner with false lashes?
Not always. A thin band and wispy fibers can look fine without liner, but a very thin line of shadow or pencil can help hide a visible band if that bothers you.
Can sensitive eyes still wear false lashes?
Often yes, but it depends on what triggers irritation. Patch testing adhesive and avoiding placement too close to the waterline can help, and if symptoms persist, a professional opinion is the safer choice.
How many times can I reuse beginner strip lashes?
It varies by lash quality and how gently you remove and clean them. If the band warps, fibers shed heavily, or they no longer sit flush, it’s time to retire them.
If you’re stuck between styles and you want a more “no-drama” routine, start with a thin-band half lash and a clear adhesive, then graduate to a full wispy strip once placement feels automatic, it’s usually the smoothest path for beginners.