
How to cover dark circles with concealer comes down to two things most people skip: figuring out what color you’re actually correcting, and using less product than you think in the right shape.
If your under-eye always looks gray, creasy, or oddly bright after concealer, it’s usually not a “bad concealer” problem, it’s technique, shade logic, and prep working against you. The good news is, you can get a noticeably cleaner result with a few small changes.
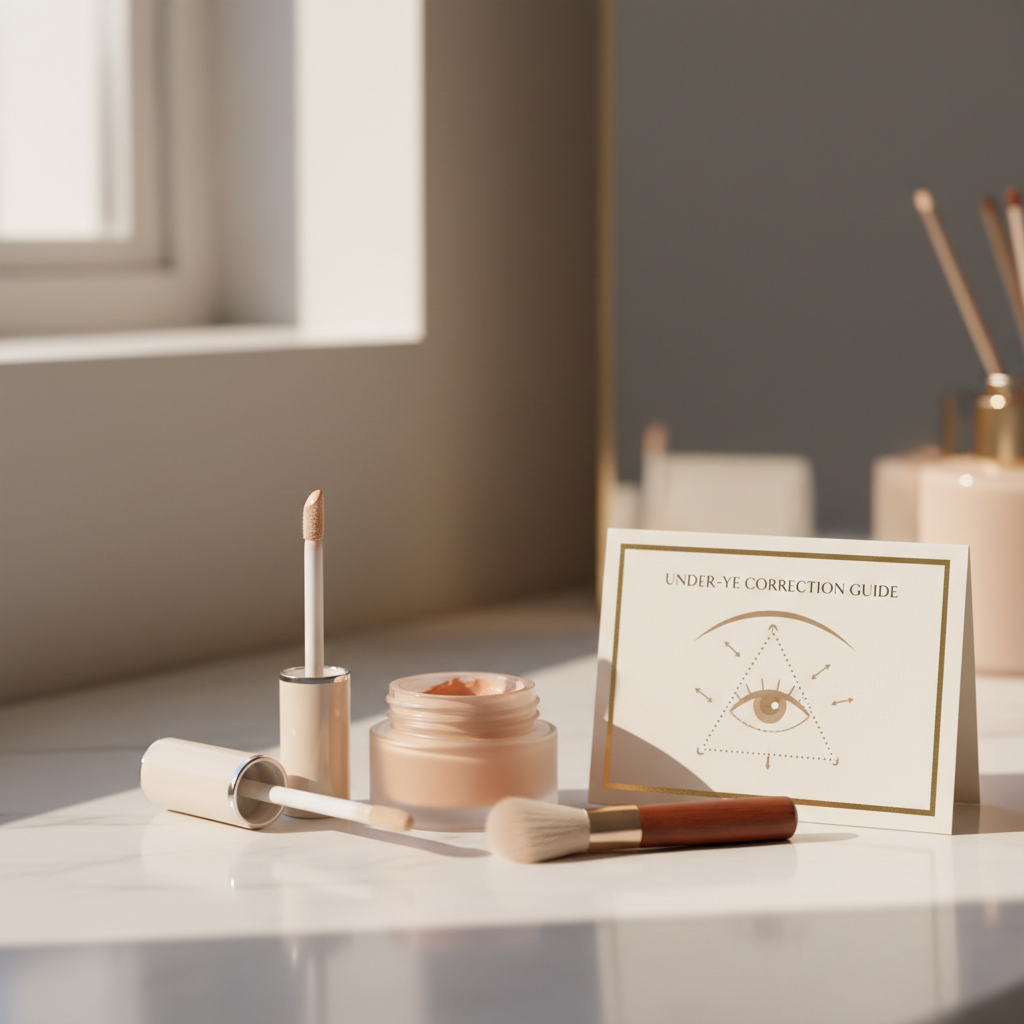
Below is a practical way to diagnose your dark circle type, pick the right tones, and apply concealer so it looks like skin. I’ll also flag the common “looks fine in the bathroom, terrible in the car” mistakes, because that’s where people really get stuck.
Why dark circles still show through (even with a full-coverage concealer)
Dark circles are not one issue. Many under-eyes look dark for different reasons, and each reason reacts differently to concealer.
- Pigment: brown or bluish discoloration in the skin. Concealer alone can look ashy if the undertone isn’t addressed.
- Visible blood vessels: blue/purple tone from thin skin. Too-light concealer often turns it gray.
- Hollowing: a tear trough shadow, even if skin tone is even. You can “brighten” forever and the shadow stays.
- Texture and dryness: product clings, then creases, then looks darker again.
According to the American Academy of Dermatology (AAD), under-eye dark circles can relate to factors like genetics, thinning skin, allergies, and lifestyle, so what works for one person may not translate perfectly for another.
Quick self-check: what type of dark circle do you have?
Do this in natural window light if possible. Overhead bathroom lighting lies.
- Pinch test: gently pinch the under-eye skin. If the darkness improves while pinched, it may be shadow/hollowing more than pigment.
- Color read: look at the deepest area.
- Blue/purple: often vascular tone, usually benefits from peach/salmon correction.
- Brown/gray-brown: often pigment, may need peach/orange plus a concealer that matches your undertone.
- Red/pink: sometimes irritation or allergy rubbing, keep steps minimal and gentle.
- Crease check: smile, then relax. If lines show immediately and product breaks, you’ll need lighter layers and smarter setting.
- Edge check: if the inner corner is darkest, focus coverage there, not across the whole under-eye.
This quick read also helps you decide whether you actually need color corrector. A lot of people don’t, they just need a better shade and placement.
Choose the right products (and shades) without overbuying
You don’t need a 10-step kit, but you do need the right type of coverage in the right tones. Here’s a simple guide.
Color corrector: when it helps
If your circles pull blue/purple or look “bruise-like,” corrector can make your concealer look more like skin. If your under-eye is mainly shadow from hollowing, corrector may add extra layers without solving the root issue.
- Fair to light skin: pink-peach or light peach corrector.
- Medium skin: peach to salmon corrector.
- Tan to deep skin: orange to red-orange corrector (used with a very light hand).
Concealer shade rules people ignore
- Match, then brighten: one shade that matches your skin tone covers best; a brighter shade is optional for the center of the face, not mandatory under the eye.
- Undertone matters: a “neutral” concealer on warm skin can look gray, and a very yellow concealer on cool skin can emphasize purple.
- Texture matters: very matte concealer can crack on dry under-eyes; very dewy concealer can slip if you’re oily.
Quick product pairing table
| Under-eye issue | What usually works | What often backfires |
|---|---|---|
| Blue/purple tone | Peach/salmon corrector + skin-tone concealer | Too-light concealer alone (turns gray) |
| Brown pigment | Peach/orange corrector (if needed) + undertone-matched concealer | Heavy brightening shade (looks ashy) |
| Fine lines/creasing | Thin layers + minimal powder set | Thick concealer + lots of powder |
| Hollow tear trough shadow | Targeted coverage + subtle brightening, strategic placement | Coating the whole under-eye in bright concealer |
Prep that actually changes the finish (takes 60 seconds)
The under-eye area can look dry even if the rest of your face is oily, and that’s where concealer gets patchy. Keep prep basic.
- Hydrate lightly: use a small amount of eye cream or moisturizer, then give it a minute to settle.
- Blot excess: if it feels slick, press a tissue once. Concealer sticks better.
- Optional primer: if you crease easily, a tiny bit of smoothing primer can help, but too much makes slipping worse.
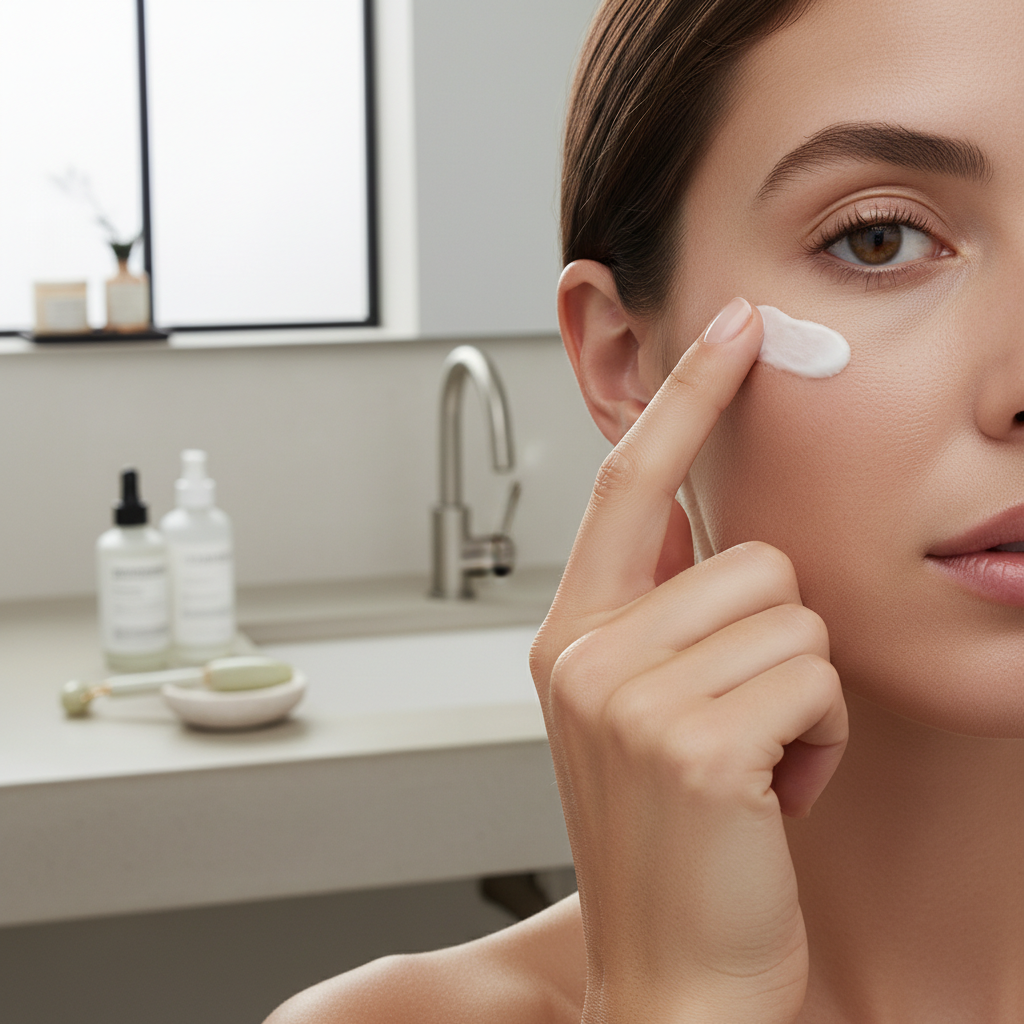
If your dark circles are linked to irritation or allergies, keeping ingredients gentle often matters more than piling on coverage. If you’re unsure what triggers sensitivity, it may be worth asking a dermatologist.
Step-by-step: how to cover dark circles with concealer (the “less but smarter” method)
This is the routine that tends to look good up close and still holds up in harsh daylight.
1) Place corrector only where the darkness is deepest
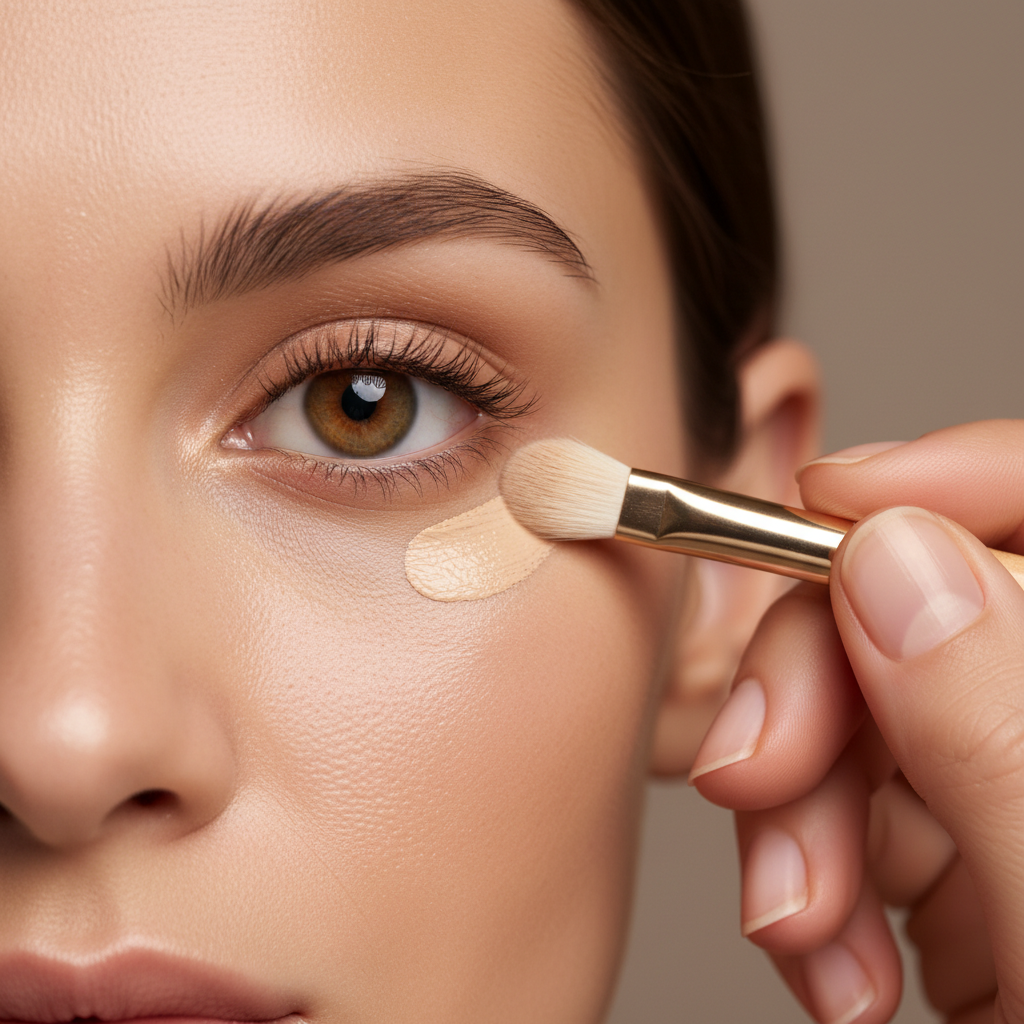
Use a rice-grain amount. Tap it on the darkest pocket (often inner corner and along the trough), then blend edges. You’re not painting the whole under-eye.
2) Concealer placement: think “two points,” not a big triangle
For most faces, a huge triangle adds product where you don’t need it, then creases. Try this instead:
- Point A: inner corner darkness
- Point B: the shadow line of the trough (usually mid under-eye)
Then connect softly with your blending tool. If you need extra coverage, add a second thin layer only on those points.
3) Blend direction matters
- Tap, don’t rub, especially over corrector.
- Blend upward toward the lower lash line to keep coverage where circles show, not down on the cheek.
- If you use a sponge, damp is fine, soaking wet makes coverage disappear.
4) Micro-set, not bake
If you crease, set only the areas that fold. Use a small fluffy brush and a tiny amount of finely milled powder. Press, then sweep off excess.
- Dry under-eyes: set very lightly, or only the inner corner.
- Oily under-eyes: a touch more powder, but still keep it thin.
Many people think they need more concealer, but what they actually need is better setting control.
Common mistakes that make dark circles look worse
- Going too light: a bright shade can turn purple circles gray and draw attention to texture.
- Using full coverage as a first pass: thick formulas can emphasize fine lines fast; layering thin often looks smoother.
- Setting with too much powder: “baking” can look great on camera, but in real life it often makes under-eyes look dry and older.
- Covering the entire under-eye: product migrates into lines you didn’t even notice before.
- Ignoring the rest of the face: if your foundation is warmer/cooler than your concealer, the under-eye stands out.
If you’re doing everything “right” and it still looks off, check lighting. A quick car-mirror look (natural daylight) catches tone problems that indoor lighting hides.
When concealer isn’t enough (and what to do instead)
Some dark circles are mostly structural shadow. Makeup can soften it, but it may not erase it, and chasing perfection often leads to cakiness.
- Hollow tear trough: try targeted concealer only on the shadow line, plus a soft brightening just at the inner corner.
- Persistent irritation: if you rub your eyes often, address triggers like dryness or allergies, and consider asking a clinician for guidance.
- Sudden change: if dark circles appear quickly with other symptoms, it’s reasonable to check in with a healthcare professional.
According to the Mayo Clinic, allergy management can help reduce symptoms around the eyes in some cases, which may indirectly improve how the under-eye area looks and feels.
Key takeaways for a smoother, brighter under-eye
- Correct color first when circles pull blue/purple, then conceal to match skin.
- Use less product, placed on the deepest darkness, not everywhere.
- Blend upward and keep layers thin to avoid creasing.
- Set strategically with minimal powder instead of heavy baking.
- Accept the shadow if hollowing is the main cause, aim for “softened,” not “painted over.”
Conclusion: make it look like skin, not makeup
If you take one thing from this, let it be this: how to cover dark circles with concealer works best when you stop treating the under-eye like a blank canvas and start treating it like thin, expressive skin. Correct only what needs correcting, conceal only where darkness sits, and set only where you crease.
Try the two-point placement for your next application, then check it in daylight. If it still reads gray, switch your undertone strategy before you buy another “higher coverage” formula.