
Best contour kit for beginners usually comes down to one thing: how forgiving it looks when you blend fast, in bad lighting, on real skin. If you’ve ever ended up with muddy cheeks, a stripey nose, or a “why do I look gray?” moment, it’s not you, it’s the kit choice and the shade logic.
Contour has a reputation for being high-effort, but beginners don’t need a 12-pan pro palette or complicated mapping. What helps most is a small, well-edited kit: neutral undertone options, easy textures, and at least one product that can double as bronzer or soft sculpt.
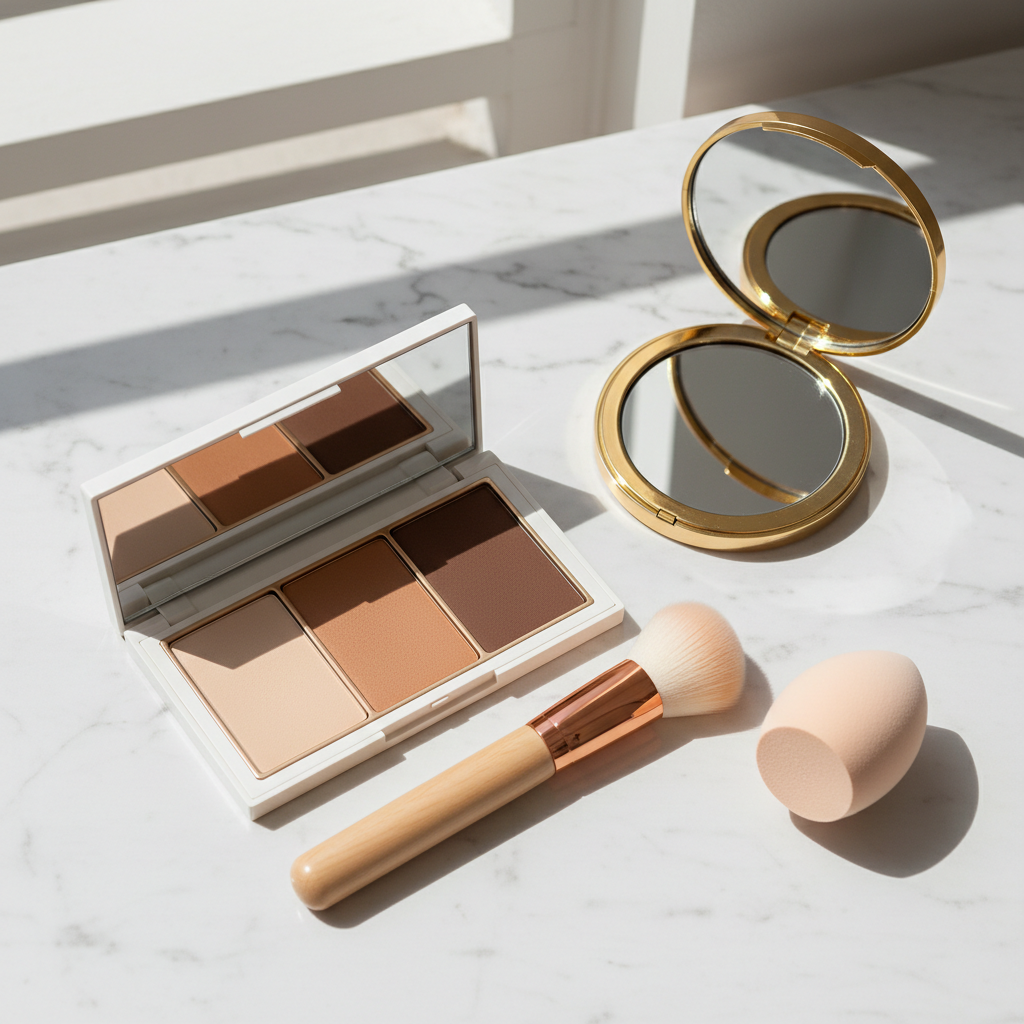
This guide breaks down what to look for in 2026, how to match undertones without overthinking, and a simple routine you can repeat. I’ll also flag the common beginner traps, because “more pigment” is rarely the answer.
What actually makes a contour kit “beginner-friendly”
A kit can be popular and still be a pain to learn on. Beginner-friendly usually means it behaves well under normal conditions, quick blending, mixed textures on skin, and everyday lighting.
- Neutral-to-cool sculpt shades: contour mimics shadow, so warm orange-browns tend to read like bronzer, not depth.
- Buildable pigment: one swipe shouldn’t jump to “stage makeup.”
- Minimal pans, usable tones: fewer shades, but each one makes sense for real faces.
- Texture that forgives: creams for dryness and speed, soft powders for oily skin and longevity, hybrid formulas for most people.
- Clear labeling: contour vs bronzer vs highlight, so you don’t guess every morning.
According to the American Academy of Dermatology (AAD), choosing non-comedogenic makeup and removing it thoroughly can help reduce the chance of clogged pores for acne-prone skin, so “beginner-friendly” also includes how your skin tolerates the formula.
Quick picking guide: cream vs powder vs hybrid
If you only remember one rule, make it this: pick the format that matches your skin and your patience level, not what looks cool on social media.
| Format | Feels like | Best for | Watch-outs |
|---|---|---|---|
| Cream | Soft, skin-like, quick to melt in | Normal to dry skin, beginners who hate “powdery” looks | Can slide on very oily skin, set lightly |
| Powder | Airier, easier to layer over set base | Oily skin, humid climates, long days | Can look dusty if base is too matte or dehydrated |
| Hybrid (cream-to-powder) | Blendable, then slightly sets | Most skin types, “one product does it all” people | Shade undertone matters more, test in daylight |
Many beginners do best with a small cream kit plus a light setting powder, because you can tap it out if you go too far. Powder-only can be great too, but the brush choice becomes more important.
How to choose the right shades (without getting gray or orange)
Contour shade matching is less about “light/medium/deep” and more about undertone and contrast. The most common beginner complaint is a gray cast, and it usually happens when the shade is too cool or too deep for the face’s natural depth.
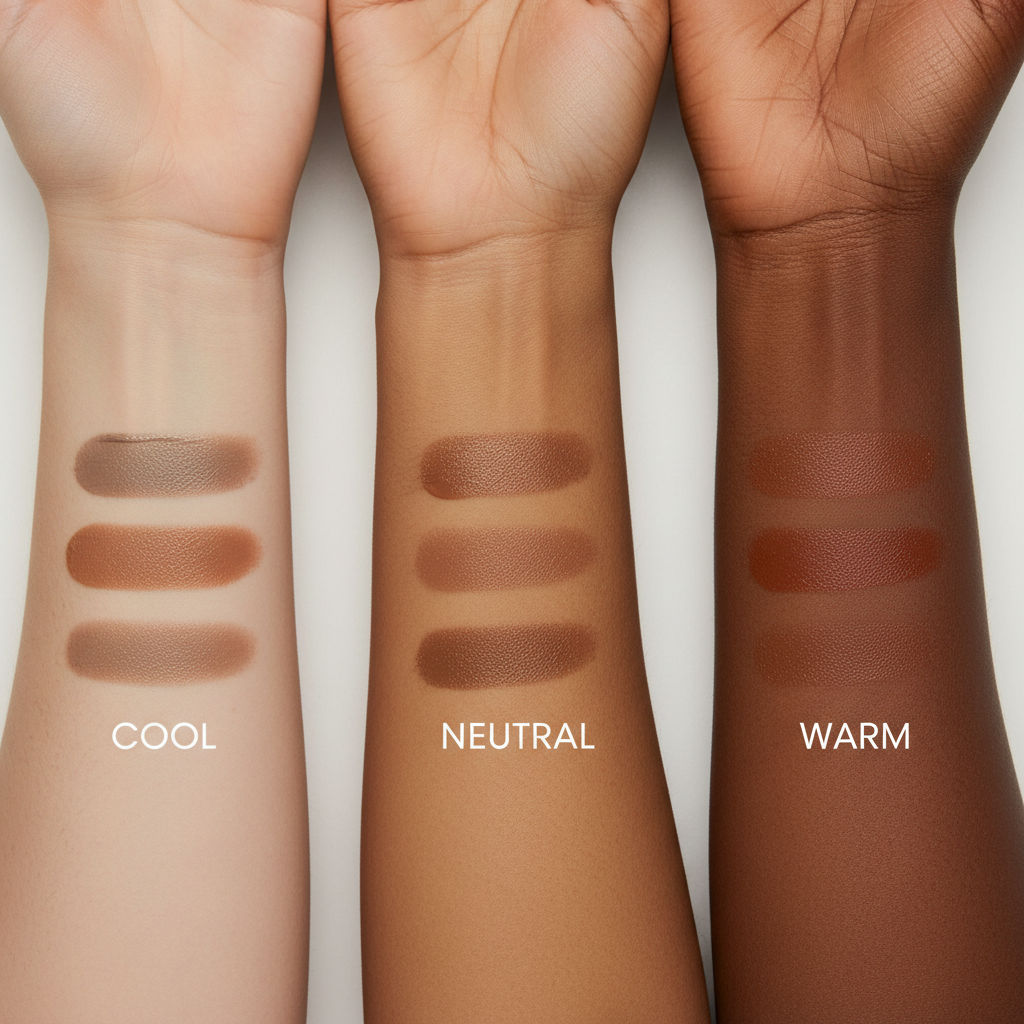
Use this quick logic:
- Fair to light skin: look for light taupe or neutral beige-brown, very sheer, avoid deep cool browns that turn bruisey.
- Light-medium to medium: neutral brown with a subtle cool lean often reads most natural, avoid strong red undertones.
- Tan to deep skin: choose deeper neutral-brown shades that stay rich, not ashy; many “cool” contours go flat, so neutral works better in many cases.
A practical test: apply a tiny swipe under the cheekbone, blend for 10 seconds, then step into daylight. If it reads like a soft shadow, you’re close. If it reads like dirt, warmth, or a stripe, adjust undertone or depth.
Self-check: are you picking the wrong kit or using the wrong method?
A lot of “I need a better kit” moments are actually technique or tool issues. This list helps you separate the two quickly.
You may need a different kit if…
- Every shade pulls orange or red on your skin, even when you apply lightly
- The darkest shade is still too light to show up, or it jumps too dark instantly
- It looks patchy no matter what brush or sponge you try
- It breaks up your base makeup underneath when you blend
You may just need a method tweak if…
- Your contour disappears by noon, even though it looked fine at first
- You see “lines,” but only on one side of your face
- It looks fine in your bathroom, then harsh in car daylight
Key takeaway: beginners get better results by adjusting placement and blending direction before buying a larger palette.
A simple 5-minute contour routine (beginner-safe)
This routine aims for “people just think you look rested,” not carved. Use a small amount, pause, then build.
- Step 1, prep: apply base makeup, then lightly set the areas that crease (under-eye, sides of nose) if you use cream products.
- Step 2, cheek: place product slightly above the hollow of the cheek, closer to the ear than the mouth, blend upward toward the temple.
- Step 3, forehead: tap a little at the hairline, blend inward, keep the center of forehead cleaner for natural dimension.
- Step 4, jaw (optional): lightly shade under jawline, blend down the neck a touch, keep it subtle to avoid a “mask edge.”
- Step 5, refine: use leftover foundation on sponge to softly blur edges, this fixes 80% of beginner harshness.
If you want nose contour, keep it minimal: two soft lines, blended inward, and a tiny shadow under the tip. Most beginners overdo this part first.
Tools that make a beginner kit work (and the ones that sabotage you)
Contour is half product, half tool. If your kit is fine but your brush is too dense, you’ll get stripes. If your sponge is too dry, it will lift base makeup.
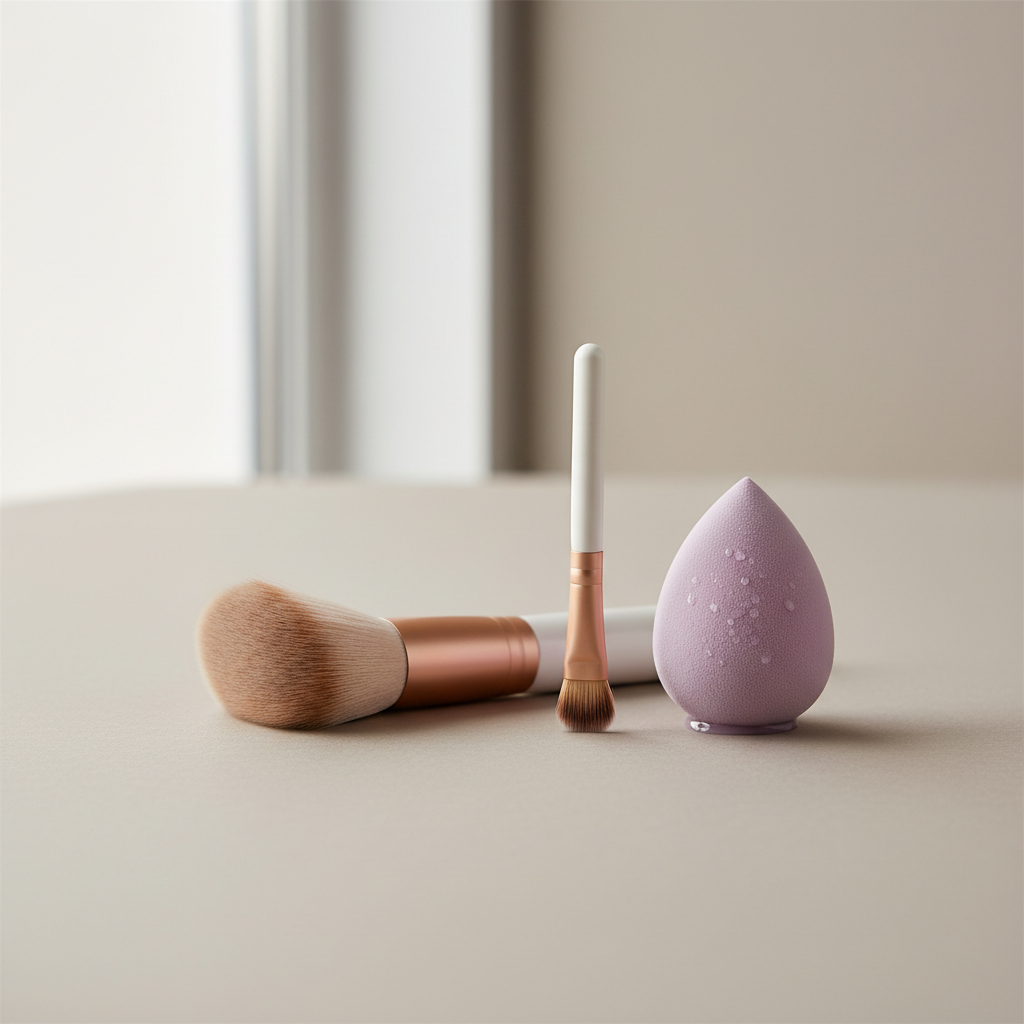
- For cream: a damp sponge for tapping + a small synthetic brush for placement.
- For powder: a fluffy angled brush, not a stiff flat one.
- For precision: a small tapered brush for under cheekbone and sides of nose.
One underrated tip: clean tools more often than you think. Product buildup makes blending uneven and can irritate skin. According to the American Academy of Dermatology (AAD), regular cleaning helps remove oil and bacteria that can contribute to breakouts in acne-prone people.
Common mistakes beginners make (and the quick fixes)
- Using bronzer as contour: bronzer warms, contour shadows. If you only own bronzer, apply it higher and lighter, and don’t chase a “shadow” effect.
- Going too low on cheeks: it drags the face down. Keep placement slightly higher, blend upward.
- Starting with too much product: tap off the brush, or warm cream on the back of hand before face.
- Wrong lighting: bathroom lights lie. Do a final check near a window.
- Over-highlighting: bright highlight plus heavy contour reads harsh, especially in daylight.
Also, if your contour looks “muddy,” it may be mixing with a base that’s still wet. Let your foundation settle for a minute, then apply.
When it’s worth getting expert help (or at least a shade match)
If you have frequent irritation, active acne flares, or eczema, a new makeup product can be a gamble. Patch-testing may help, and if you’re unsure, it’s reasonable to ask a dermatologist or a licensed esthetician, especially if reactions happen repeatedly.
It’s also worth getting a quick shade match at a retailer if you keep buying kits that go orange or gray. One accurate undertone read can save you a lot of trial-and-error purchases.
Conclusion: the best contour kit for beginners in 2026 is the one you can’t mess up
You don’t need a giant palette to get a believable sculpt. A small kit with neutral-leaning shades, a forgiving texture, and the right brush will usually outperform “pro” options when you’re learning.
If you want one action step, test your contour in daylight and take a quick photo, it shows harsh edges immediately. If you want a second step, simplify: cheeks and hairline first, then add jaw or nose only after you like the base result.
FAQ
- What is the best contour kit for beginners with fair skin?
Look for a light taupe or neutral beige-brown that blends sheer. Very cool deep browns can read bruised on fair skin, especially if you’re heavy-handed. - Should beginners start with cream or powder contour?
Many beginners find cream easier because it stays movable while you tap it out. Powder can be simpler for oily skin or if you already set your base heavily. - How many shades should a beginner contour kit have?
Usually 2–4 usable shades is plenty: one contour tone, one slightly warmer tone (optional), and maybe a soft highlight. More pans often adds confusion, not flexibility. - Why does my contour look gray in photos?
It’s often a depth mismatch or too-cool undertone for your skin’s natural shadow. Try a slightly more neutral tone and apply less product, then blend upward. - Can I use bronzer instead of contour as a beginner?
You can, but the effect shifts from “shadow” to “sun-kissed.” Apply bronzer higher on the cheek and keep it light, so it reads like warmth rather than a stripe. - What brush is best for a beginner contour kit?
A fluffy angled brush works well for powders, and a small synthetic brush plus damp sponge works well for creams. Dense brushes tend to stamp product and create harsh lines. - How do I keep contour from fading?
Lightly set cream contour with a matching powder, or use a setting spray after blending. If your base is very dewy, fading is more common, so consider a light set on the perimeter.
If you’re shopping and you want a more “can’t mess this up” option, focus on a small kit with neutral undertones and buildable pigment, then pair it with one solid blending brush, it’s often the fastest path to a natural contour without the trial-and-error.