
How to pose for instagram photos gets a lot easier once you stop chasing “perfect” and start chasing “intent”, what vibe you want, what you want the photo to say, and where your body should point to support that.
If your camera roll looks like 40 almost-identical takes and none feel right, you’re not alone, most people get stuck on stiff hands, tense shoulders, and the classic “I don’t know what to do with my face” moment.
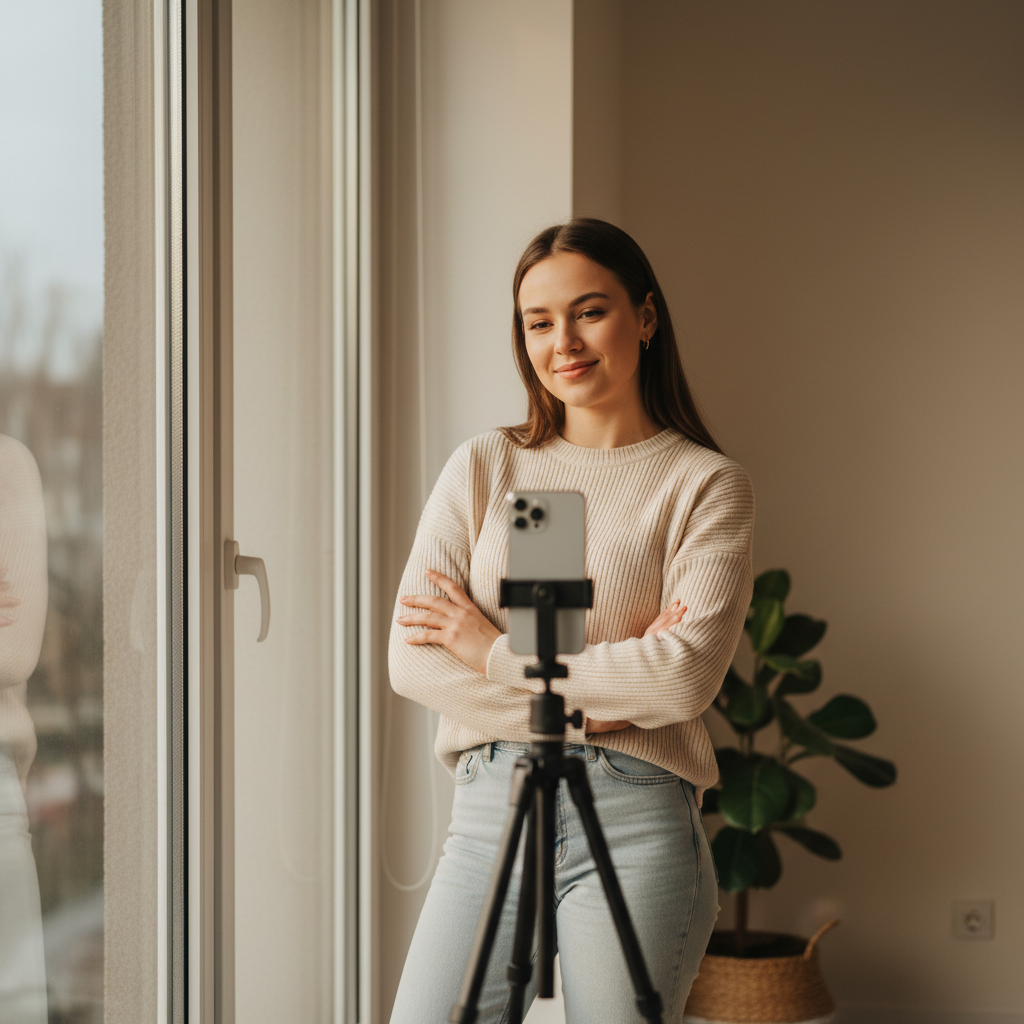
This guide keeps it practical, you’ll get a few “default” poses that work in most places, plus small adjustments that change everything: chin, shoulders, hip angle, hand placement, and what to do when you feel awkward in public.
One quick note before we get tactical, posing is only half the result, the other half is light and lens choice, so we’ll cover both without turning this into a photography textbook.
Start with a simple rule: pose for the camera angle, not the mirror
A pose can look great in a mirror and still photograph oddly, because the camera flattens depth and exaggerates what’s closest to the lens. When people say they “look different” on Instagram, it’s often perspective, not their face.
- Keep the camera slightly above eye level for most portraits, it typically flatters the jawline and opens the eyes.
- Step the front foot a few inches toward the camera and shift weight back, it adds shape without feeling forced.
- Turn your torso 15–45 degrees instead of facing straight on, then bring your face back to camera.
According to American Society of Media Photographers (ASMP)... photographers often emphasize pre-visualizing the final frame, in plain English, decide what you want the image to communicate, then build the pose and lighting around that choice.
The “no-awkward-hands” system (what to do with hands every time)
Hands are the giveaway of a nervous pose. The fix is not “hide them”, it’s giving them a job that makes sense for the scene.
3 hand options that rarely fail
- Anchor + soften: one hand lightly touching a jacket lapel, necklace, bag strap, mug, book, phone.
- Pocket with intention: thumb out, fingers relaxed, wrist soft, avoid jamming the whole fist in.
- Frame your face: fingertips near cheekbone or hair, but keep space, don’t press into skin.
A small technical cue that helps, keep a tiny bend in elbows and wrists, straight limbs read tense on camera.
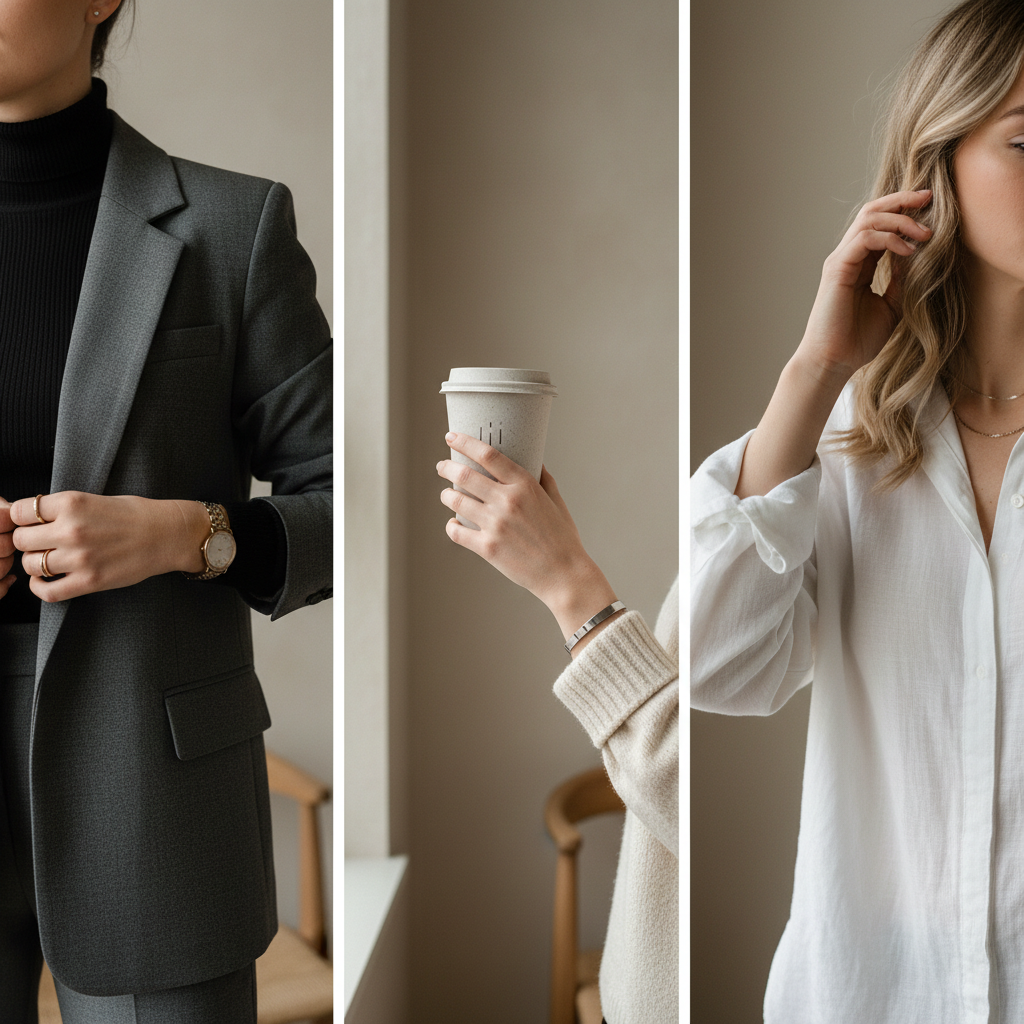
If you’re still stuck, grab a prop that matches the location, sunglasses outdoors, a tote bag in the city, a menu at a café, it gives your hands a “reason” to exist.
Face, chin, and eyes: the micro-moves that change the whole photo
Most “bad angles” are really chin and eye-line issues. Cameras punish a tucked chin and reward a slight forward-and-down move.
- Chin forward, then slightly down, think “turtle forward” very subtly, it usually sharpens the jawline.
- Eyes to the lens or just past it, looking slightly off-camera can feel more candid.
- Relax the mouth, try a soft exhale before the shot, it often reduces tension in lips and cheeks.
When you want a more editorial vibe, lower your eyelids a touch and keep your mouth neutral, when you want friendly, lift brows slightly and think of a real person you like, it reads in the eyes.
Poses that work almost anywhere (standing, sitting, walking)
If you want a short list you can reuse, these are “framework” poses. You adjust them by changing where your weight sits and what your hands are doing.
Standing poses
- The S-shift: weight on back leg, front knee soft, hip slightly out, shoulders relaxed.
- The cross-step: cross one foot slightly in front, toes angled out, torso turned, face back to lens.
- The lean: shoulder or hip against a wall, keep space between arm and torso for shape.
Sitting poses
- Perch, don’t sink: sit on the front third of the seat, lengthen spine, shoulders down.
- Angle knees away: point knees 30–60 degrees away from camera, then turn your chest back.
- One leg bent, one extended: creates lines, especially for full-body shots.
Walking poses
- Slow walk + look back: take short steps, turn head back toward camera on step two or three.
- Step-and-pause: step forward, pause mid-step for 1–2 frames, it looks candid but controlled.
For how to pose for instagram photos in busy places, the “walk, pause, laugh at nothing” trick works because it gives your body motion cues, but keep it subtle so it doesn’t look staged.
Lighting and framing: the invisible part of “good posing”
People blame posing when the real issue is harsh overhead light or a wide lens too close. Fixing these makes every pose look more natural.
- Face the light source in open shade or near a window, then rotate 10–20 degrees for dimension.
- Avoid overhead noon sun when possible, it can create under-eye shadows that read as tired.
- Use 2x/3x on phones for portraits if available, it often looks closer to a portrait lens.
- Leave headroom on purpose, then crop later, it reduces the “cramped” look.
According to Adobe... good portraits rely on controlled highlights and shadows, practically speaking, if your face has one bright patch and one very dark patch, step two feet to the left or turn slightly until it evens out.
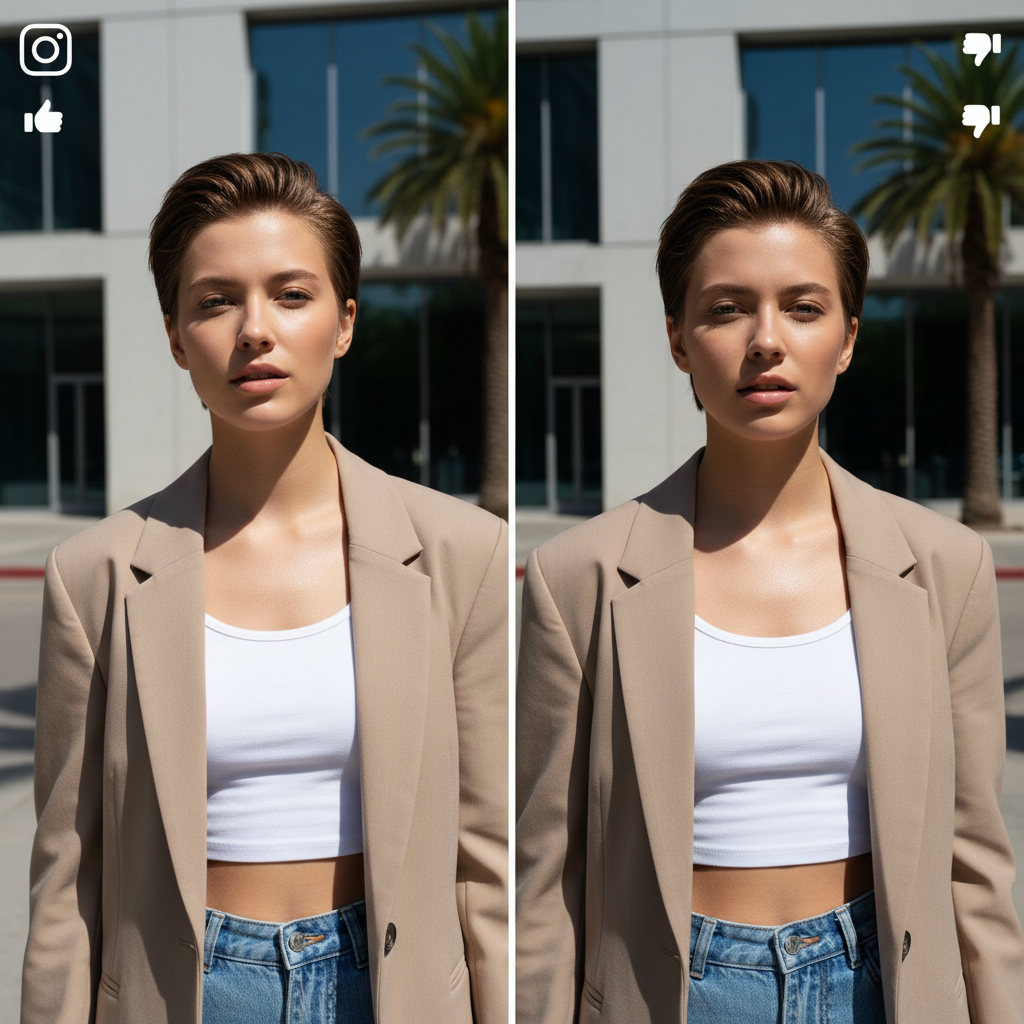
If you shoot with a friend, ask them to take two steps back and zoom in slightly instead of moving closer, it can reduce distortion in face and limbs.
Quick self-check: why your pose looks “off” (and the fastest fix)
When a photo feels wrong but you can’t name why, it’s usually one of these. Run this checklist before you retake 30 more shots.
- Shoulders creeping up → drop shoulders, then pull shoulder blades lightly back.
- Arms glued to torso → create a little triangle of space between arm and waist.
- Double-chin effect → chin forward and slightly down, camera slightly higher.
- Legs look shorter → shift weight back, point front toe, avoid shooting too low.
- Eyes look tense → blink twice, then hold a soft gaze for the next frame.
Key takeaway: Don’t overhaul everything at once, change one variable per retake, otherwise you won’t learn what actually helped.
A practical mini-routine you can repeat for any shoot
If you want consistency, use a repeatable flow. It’s boring in the best way, and it saves time.
- Pick your intention: polished, playful, cozy, bold, candid.
- Choose one base pose: standing S-shift, seated perch, slow walk.
- Set light: face window/open shade, then rotate slightly.
- Assign hands a job: pocket, prop, hair, jacket.
- Shoot in bursts: 10–15 frames while you make micro-changes.
Here’s a quick reference table you can screenshot.
| Goal | Pose cue | Camera cue | Hand cue |
|---|---|---|---|
| Look taller | Weight back, front toe pointed | Slightly higher angle, step back + zoom | One hand on waist or holding strap |
| Look relaxed | Torso 30° turn, soft knees | Eye-level, open shade | Light touch on jacket/hair |
| Look confident | Shoulders down, chin forward | Slightly below eye line but not low | Pocket with thumb out |
| Look candid | Step-and-pause, head turn mid-step | Continuous burst, slight zoom | Carry coffee or tote |
Common mistakes that make Instagram poses look forced
This is where most advice online goes sideways, it tells you a “pose,” but not what makes it read unnatural.
- Over-arching the back for shape, it can look uncomfortable fast, use a weight shift instead.
- Too much symmetry, square shoulders, feet parallel, arms equal, it tends to feel stiff.
- Camera too low and too close, wide-angle distortion is real, especially for full-body shots.
- Ignoring the background, a messy line behind your head ruins an otherwise good frame.
If your goal is how to pose for instagram photos that feel natural, aim for small asymmetry and believable hand placement, then let the camera capture a moment, not a statue.
Conclusion: make posing feel repeatable, not mysterious
Posing well on Instagram usually comes down to a few repeatable mechanics, a slight body angle, intentional hands, a chin micro-move, and light that doesn’t fight your face. Once you have two or three “default” setups, you’ll spend less time guessing and more time choosing the vibe you want.
Action step: Save one base pose from this guide, then do a 5-minute test shoot near a window, change only hands and chin across three bursts, you’ll see what works for you quickly.
If you’re posting soon, pick one intention for the next photo set, relaxed or confident, and let that decide everything else, it keeps the process simple.
FAQ
- How do I pose for Instagram photos if I feel awkward?
Give your hands a job and add a small motion cue like a step-and-pause, awkwardness usually shows up when your body has no “reason” to be in position. - What’s the most flattering angle for selfies?
Many people prefer a camera slightly above eye level with the face turned a few degrees, but it varies by face shape and lens, take 10 quick tests and keep the best angle. - How do I look slimmer in Instagram pictures without editing?
Turn your torso 15–45 degrees, create space between arms and waist, and shift weight to the back leg, those changes often add shape without looking unnatural. - Where should I look in photos so it doesn’t feel staged?
Try looking just past the lens or at a point slightly above it, it keeps your eyes engaged while avoiding the “staring into the camera” tension. - What do I do with my legs in full-body shots?
Soften one knee, point the front toe, and avoid both feet parallel to the camera, a small cross-step can also create cleaner lines. - How can I pose in public without feeling embarrassed?
Use smaller movements, lean lightly on a wall, adjust a jacket, take a sip of coffee, it reads natural and draws less attention than big, dramatic posing. - Does phone lens choice matter for posing?
Yes, it can, wide lenses close-up often distort proportions, stepping back and using 2x/3x (if available) usually makes faces and limbs look more balanced.
If you’re trying to build a consistent look, it helps to save 8–12 poses that fit your style and rotate them with different outfits, locations, and lighting, that way “what do I do?” stops being the hardest part.